Tableware

ESPRESSO REDESIGN

Any Master of Fine Arts student knows that a vital part of an art class, albeit dreaded, is the ‘crit.’ Partly a rite of passage in which we sometimes endured the ‘ugly stick,’ the classroom critique served to prepare us to analyze and evaluate our artwork upon graduation.

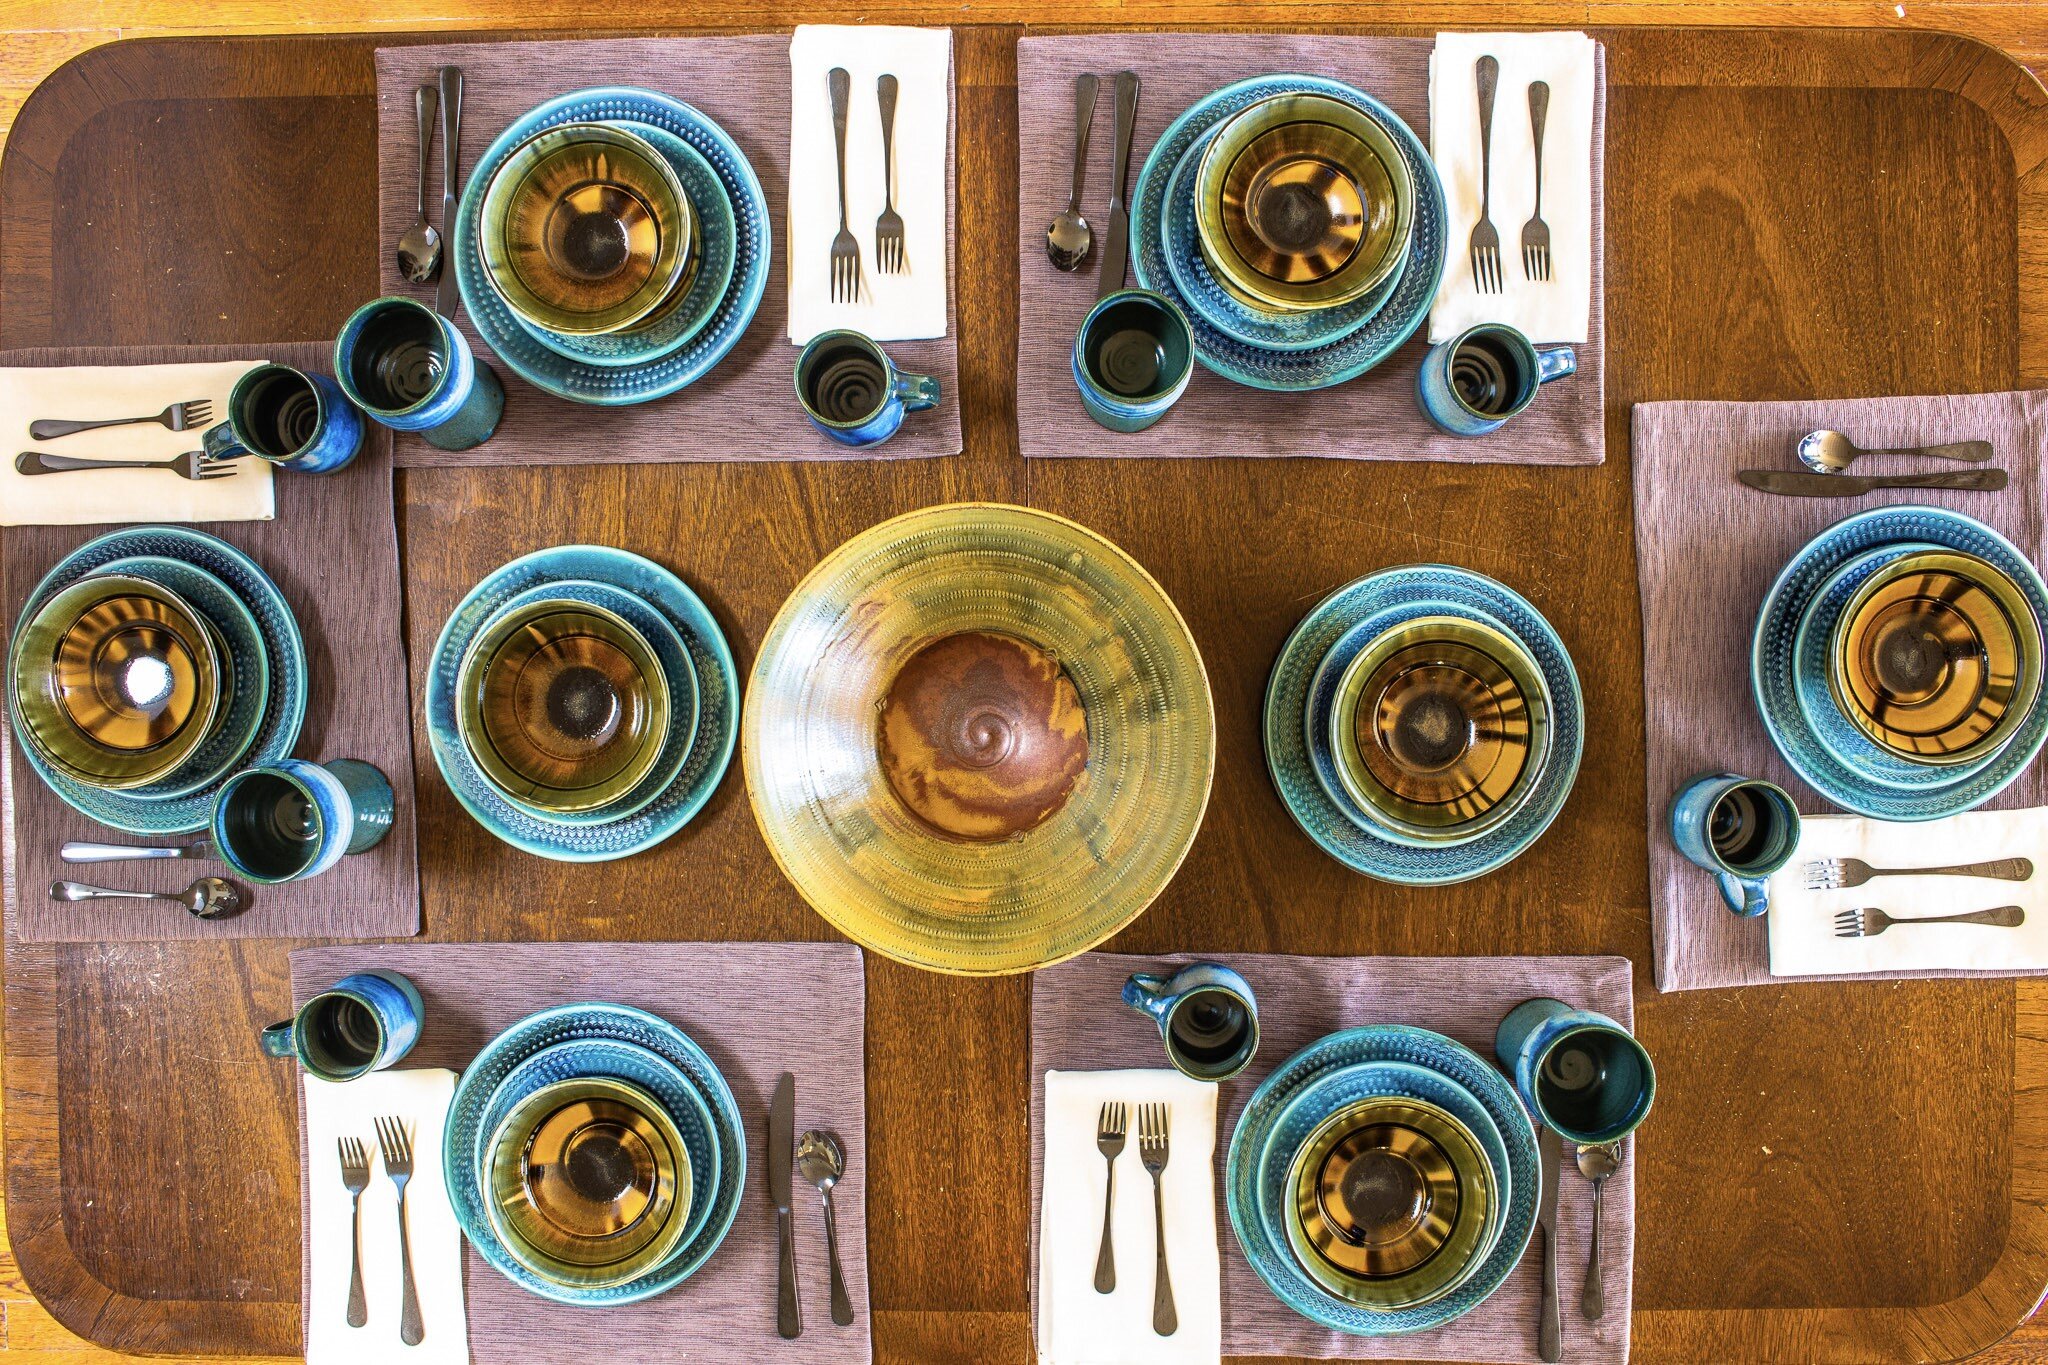
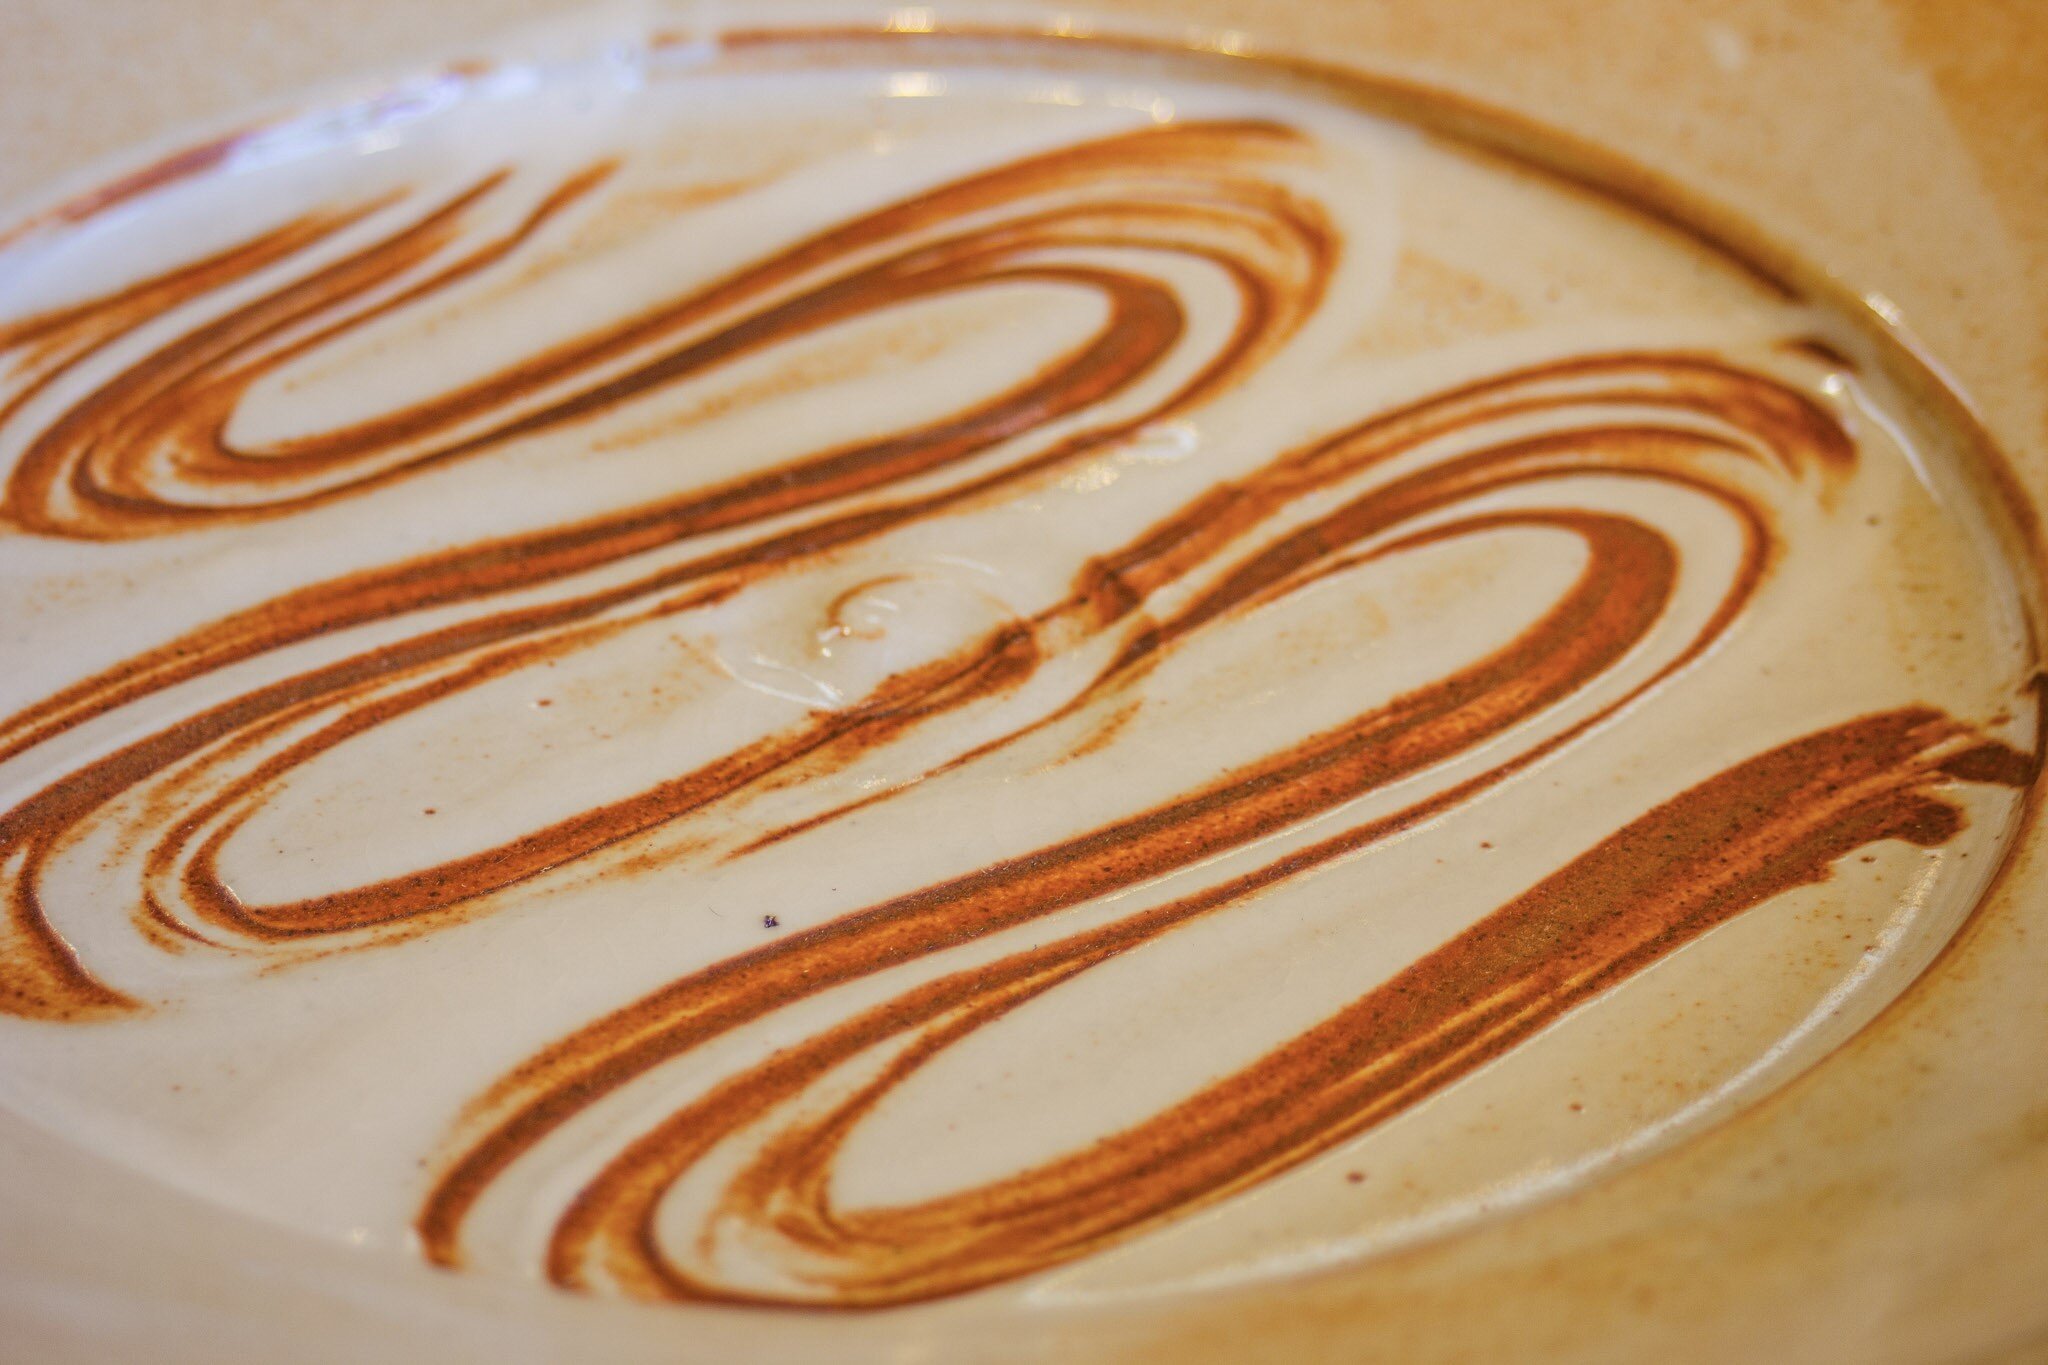
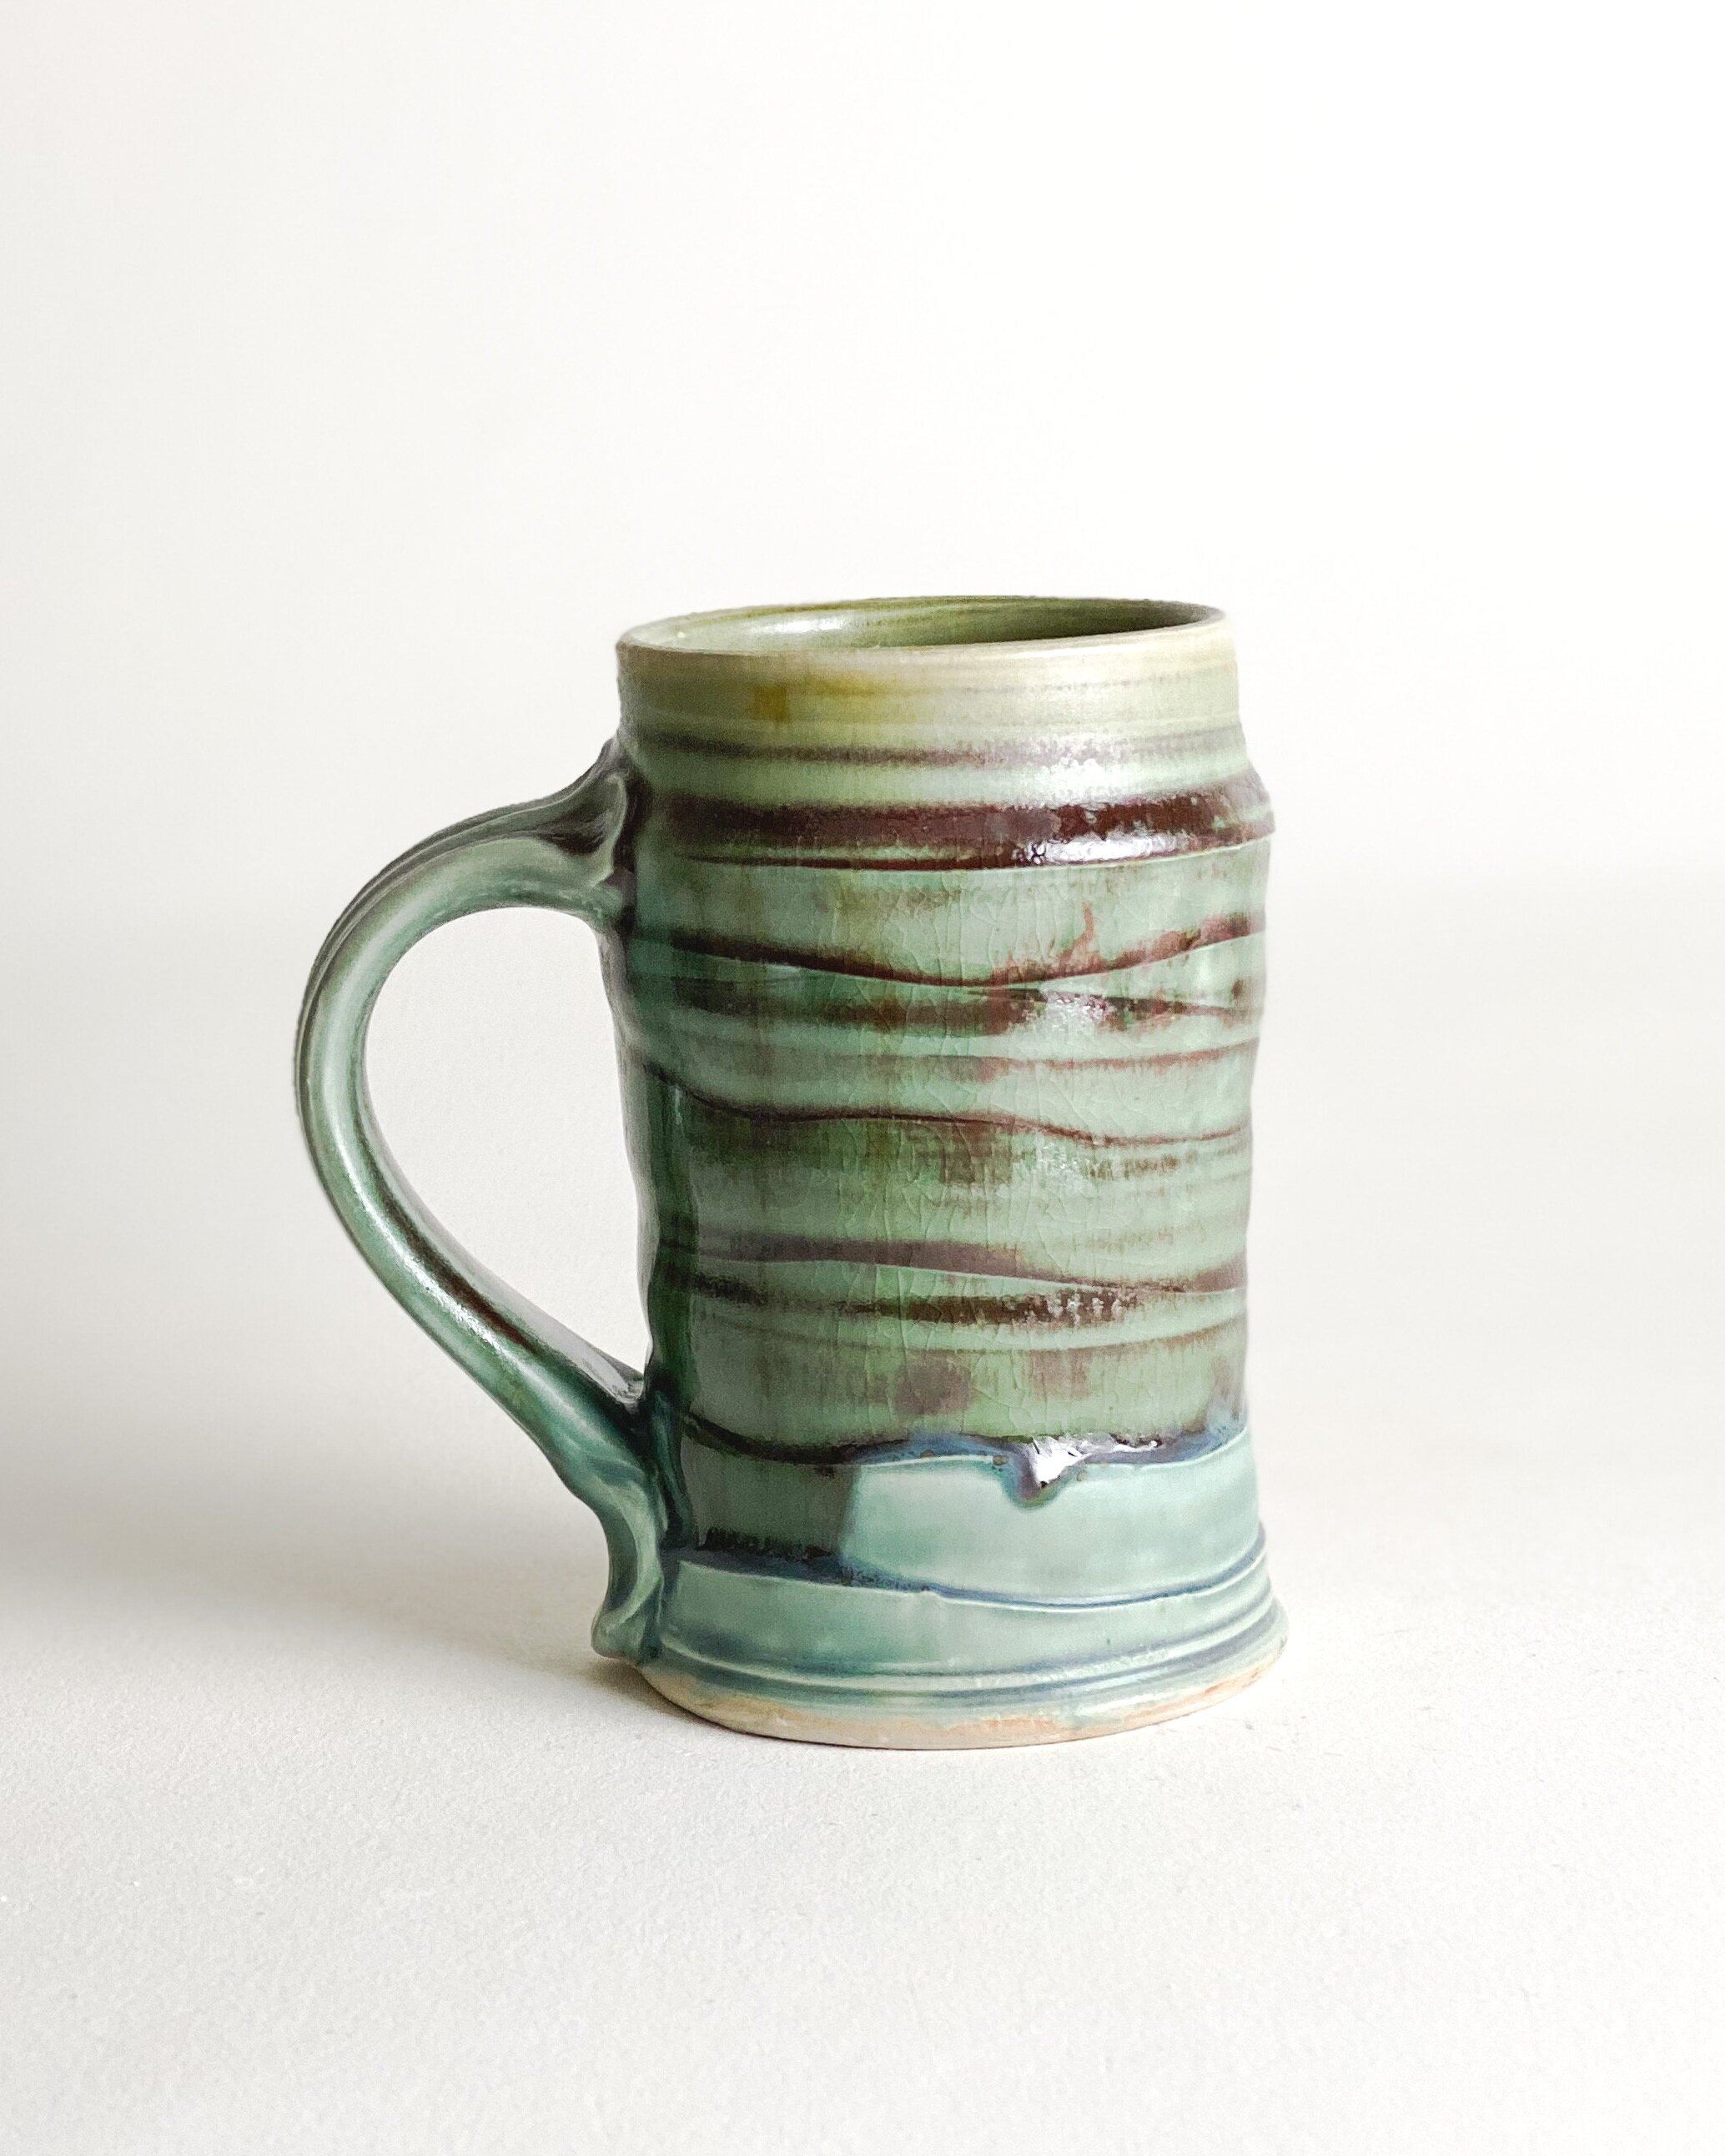
As art students, we haphazardly learned the Principles of Design which led us to investigate various frameworks for artistic reflection and allowed us to construct our foundation for self-critique eventually. We asked ourselves the following questions when designing something as seemingly simple as a mug. Does the piece have the right visual weight? Is it visually balanced? Does the handle leave a pleasing ‘negative space’ silhouette? Does the handle flow out of one line and into another? Are the beginnings and endings of the pots intentional? Are changes in planes emphasized? Most importantly and more elusive, does the pot reflect my artistic influences and personal philosophies? That seems like a tall enough order for a mug, but more questions must be asked. As potters, we must go beyond design basics and personal choices to ponder functional considerations.

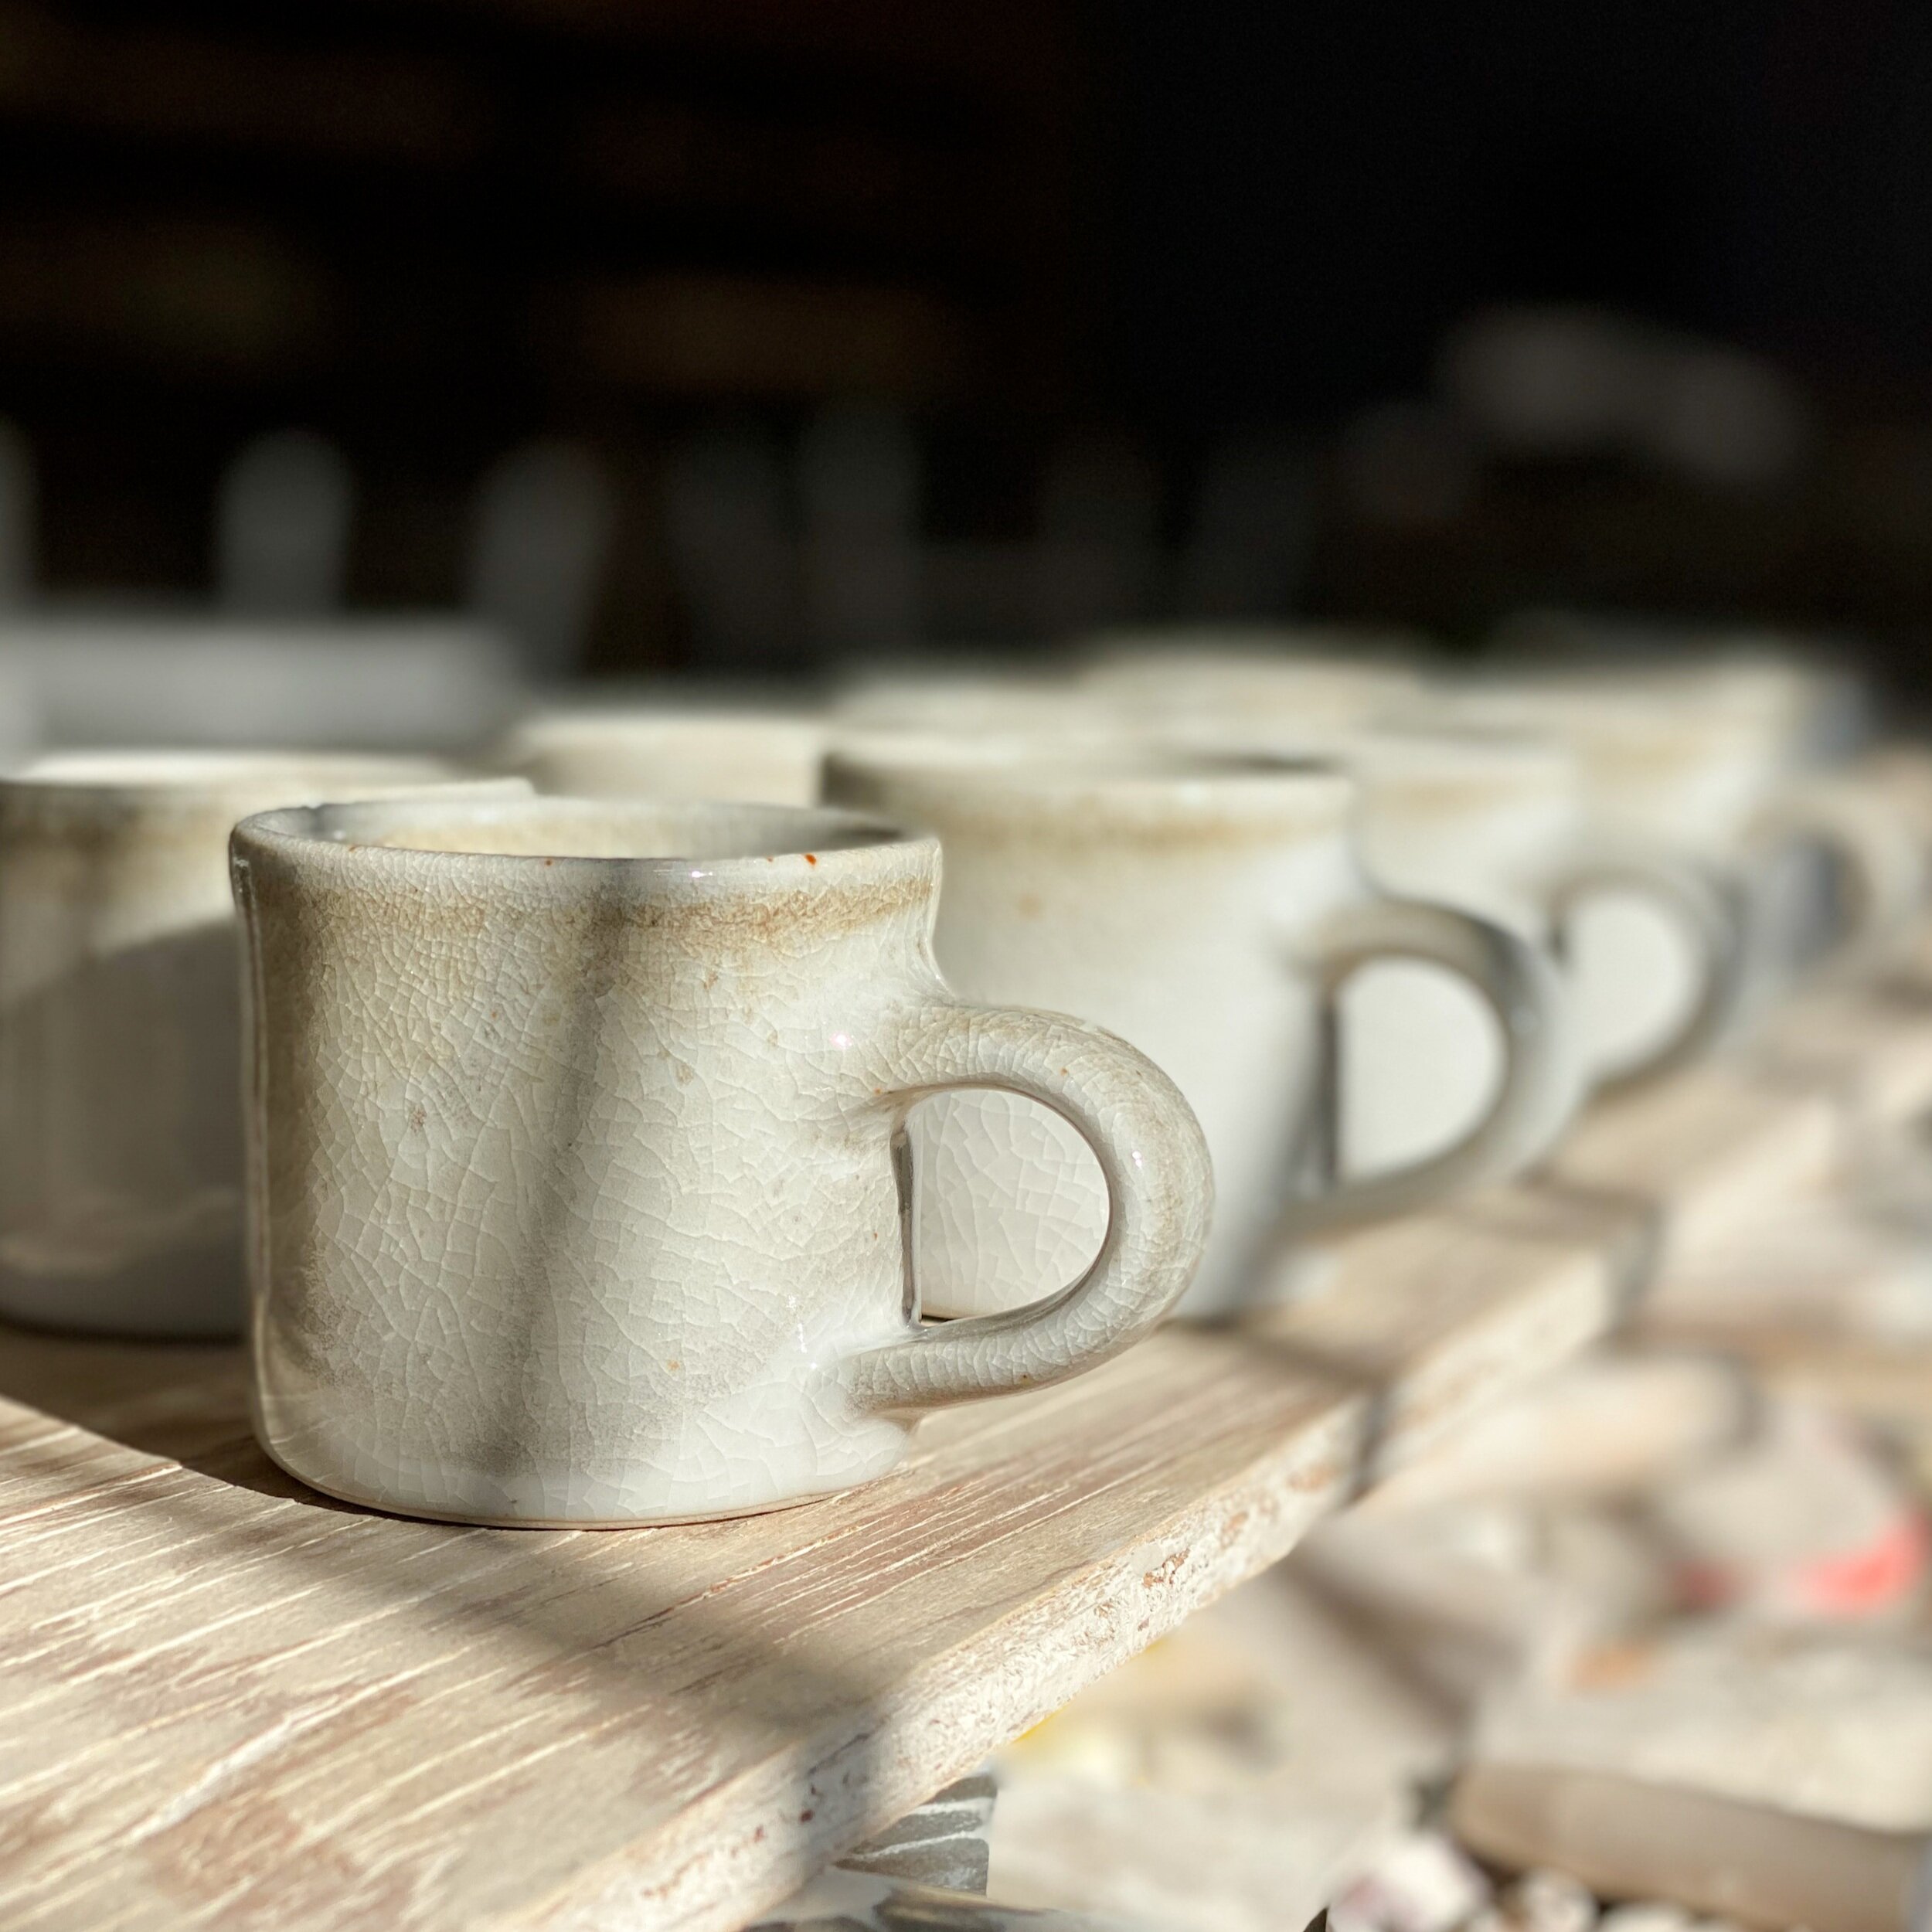
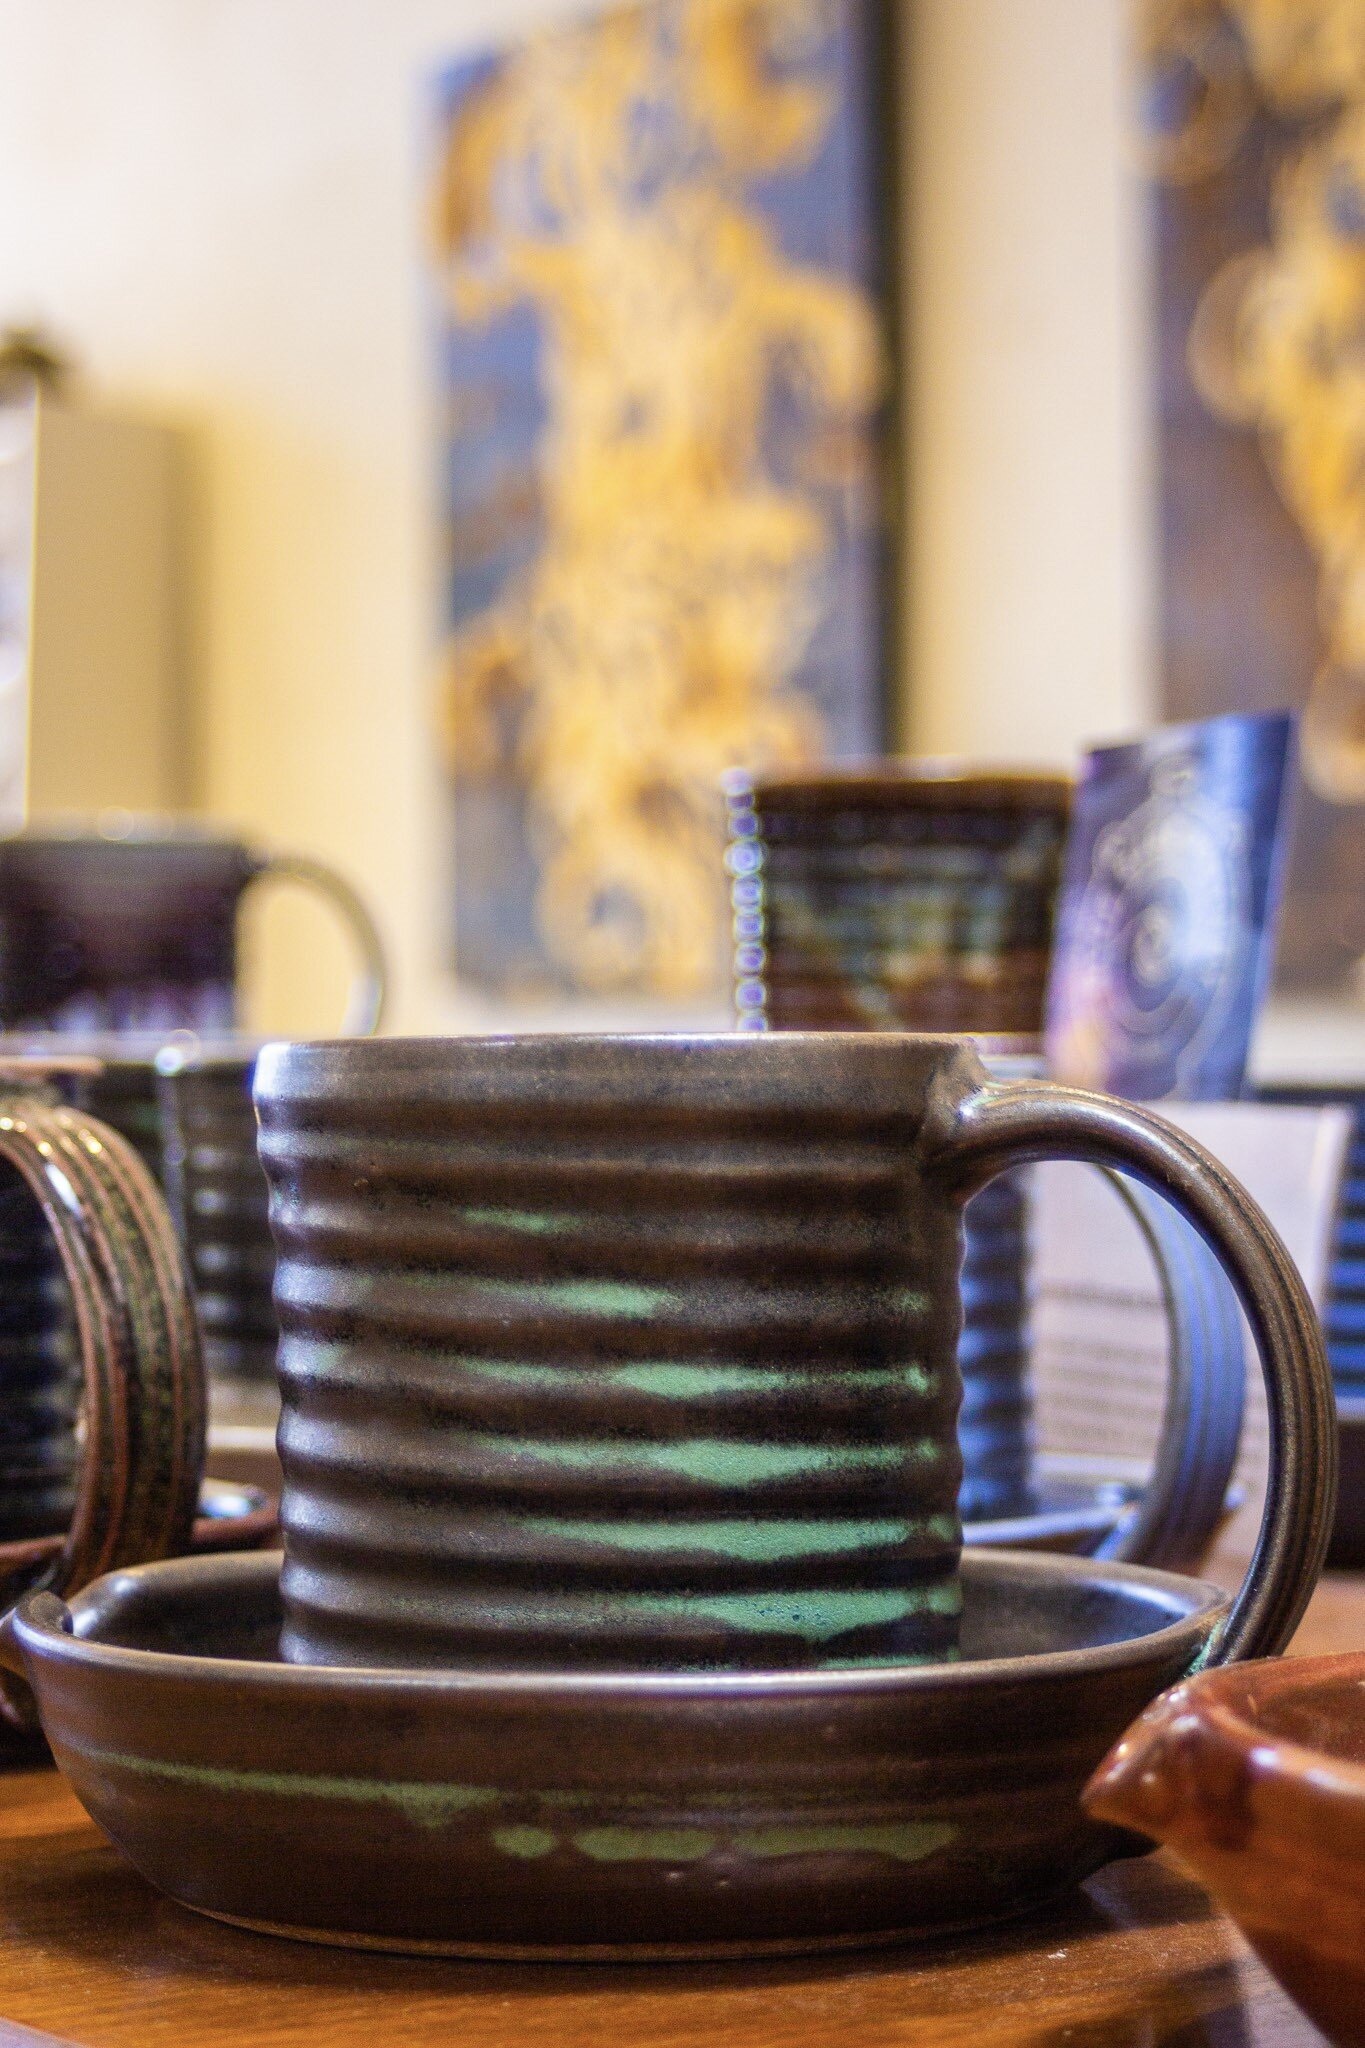
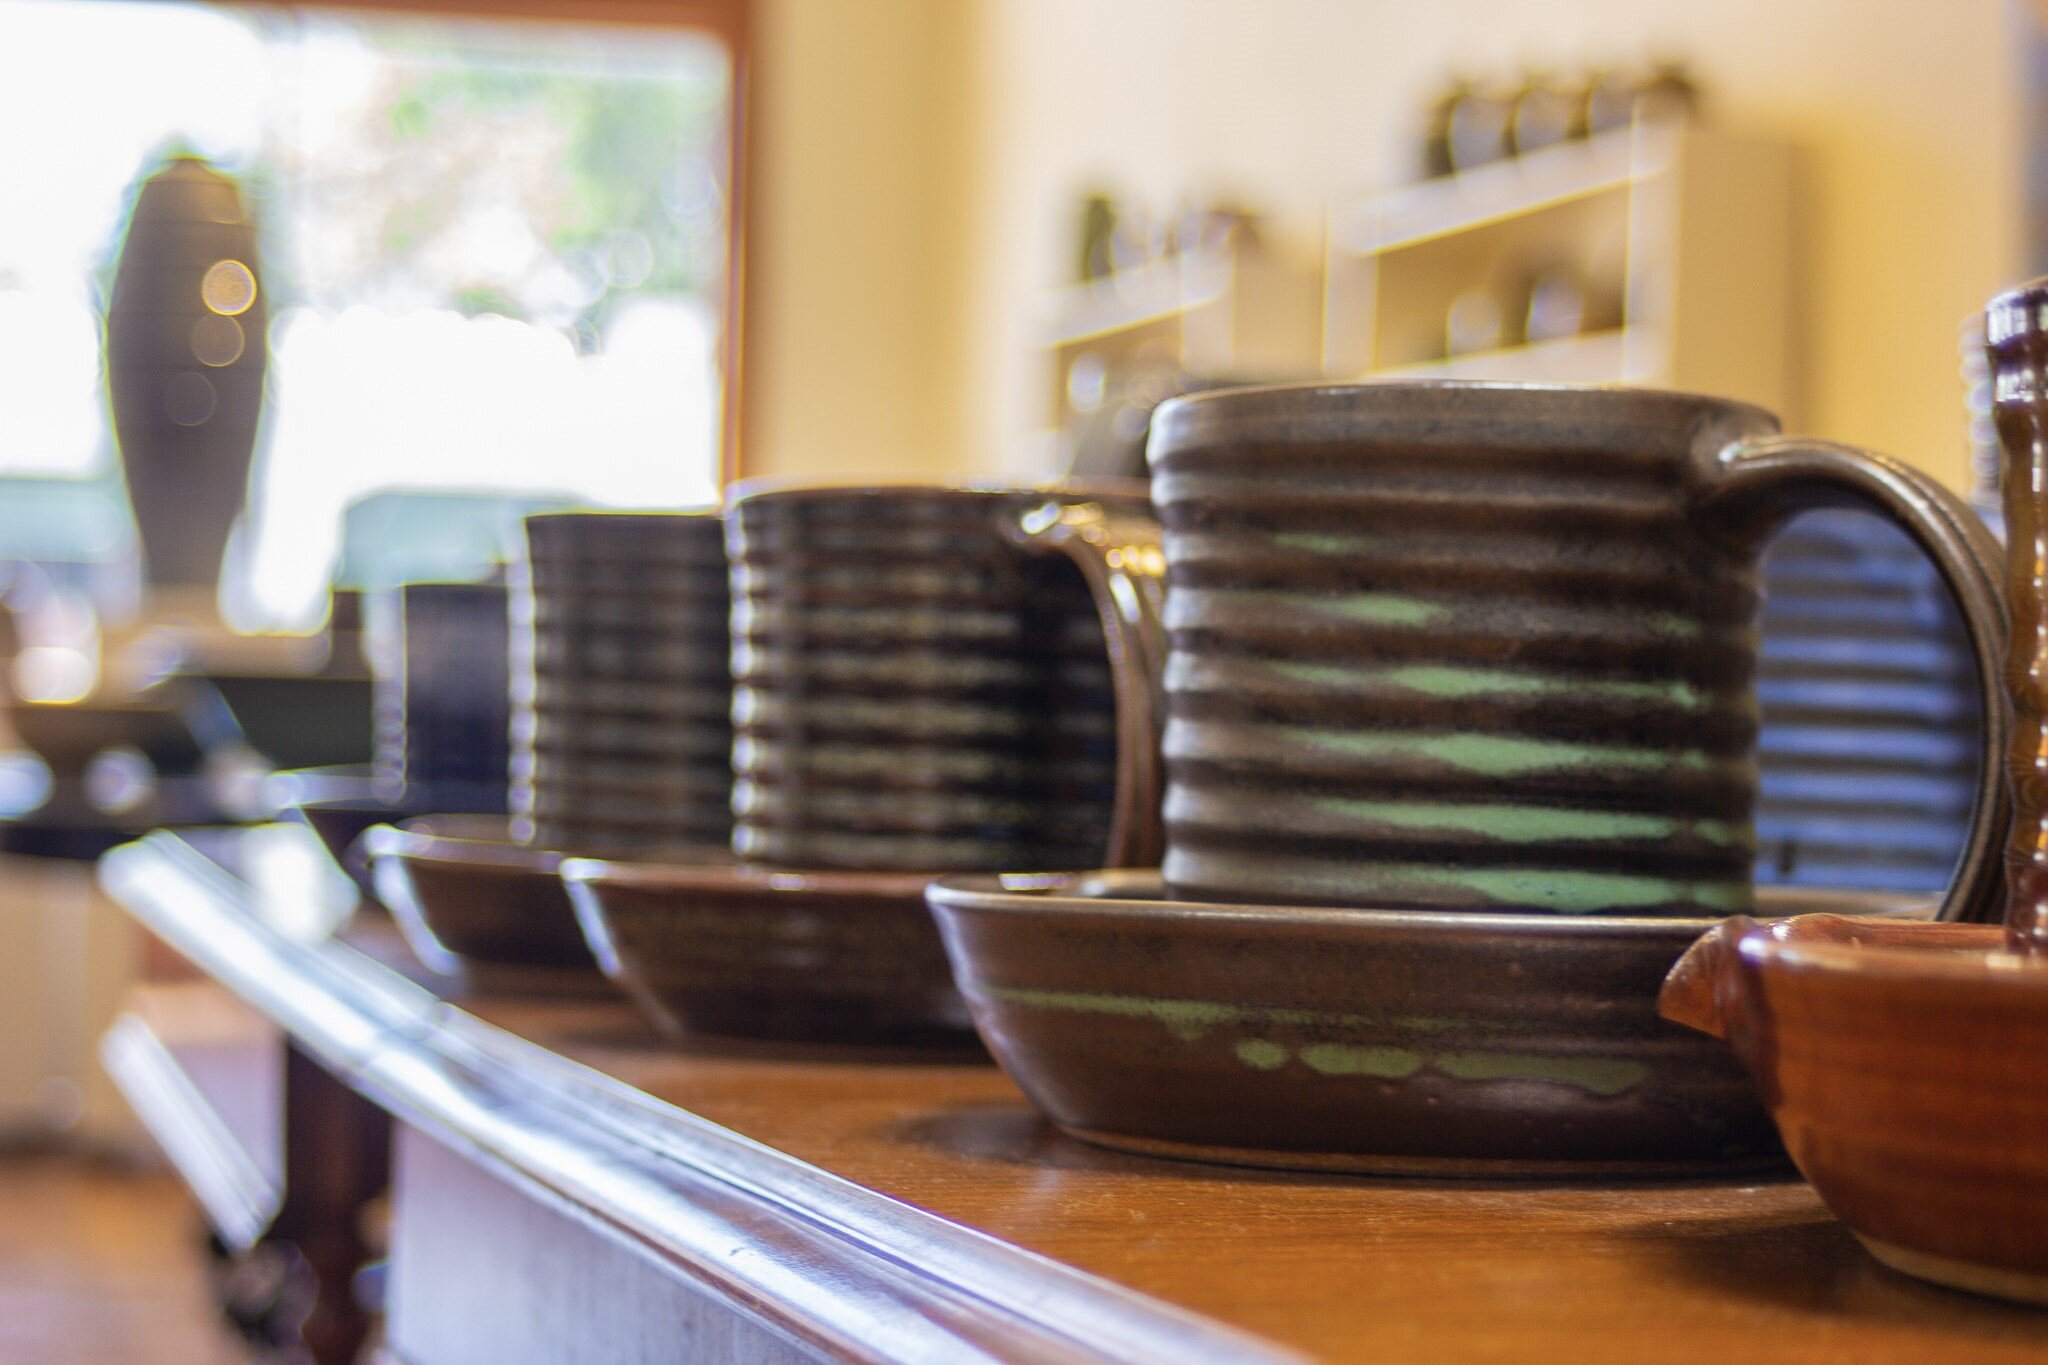
How will this mug feel in someone’s hands? Is the texture too sharp? Is the physical weight right? Is the handle close enough to keep from putting a strain on the wrist when filled with liquid? Will the mug tip over when filled up? Is the rim too flared so that coffee will easily splash out? Is the handle attachment secure? Is the handle placed in a way that enhances the form while still comfortable? Will the rim feel natural when one puts their lips on it? Will the liquid flow over the rim when drinking? Should it have a foot-ring? Is the base too wide or too narrow, or just right?

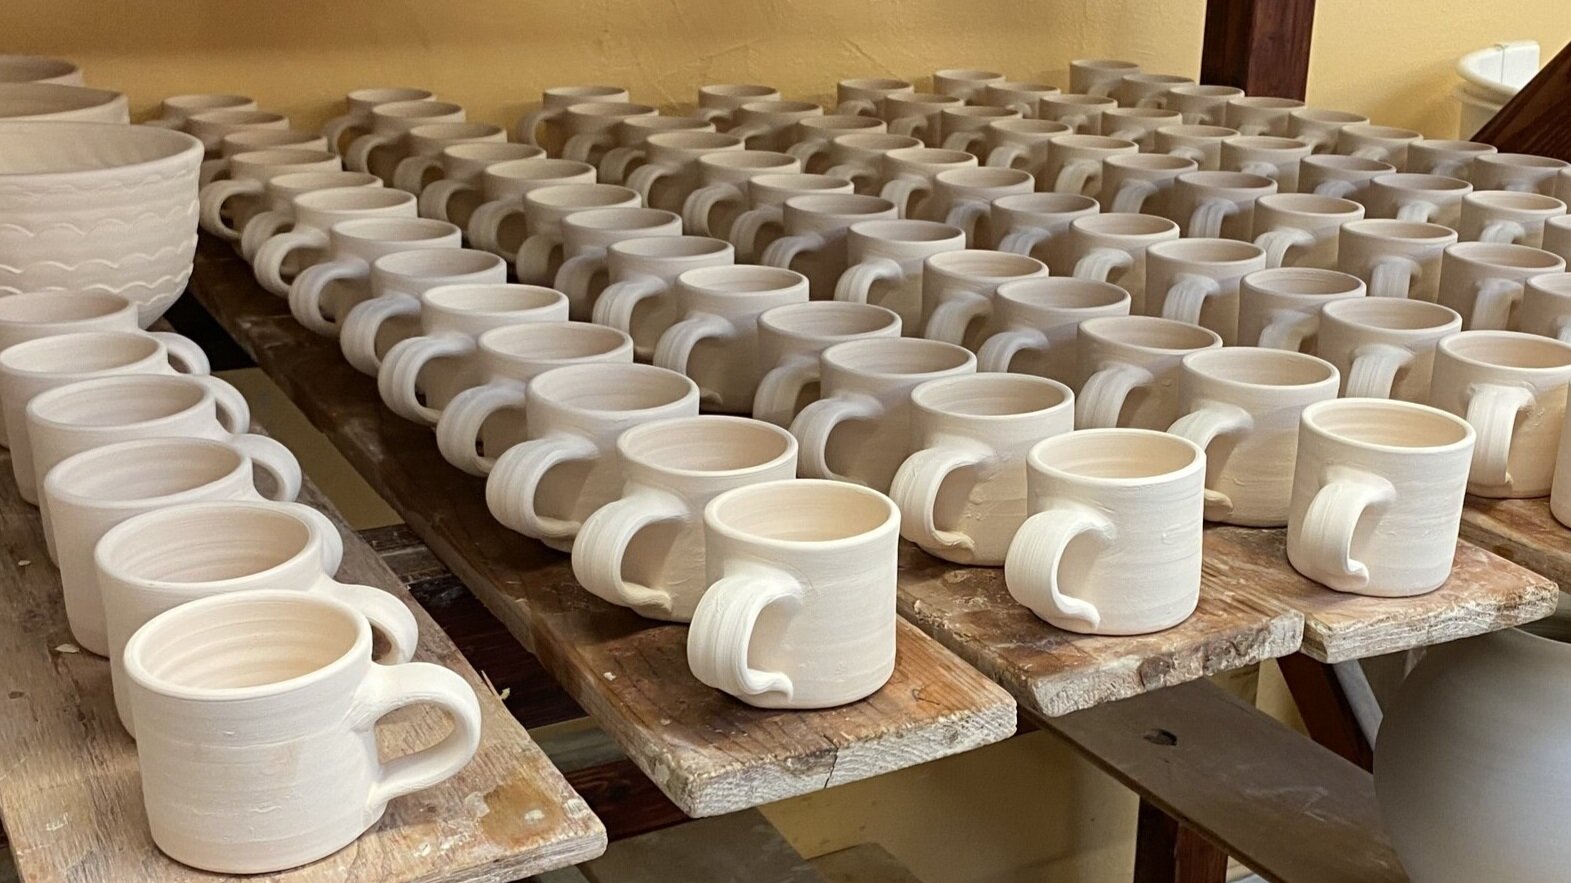
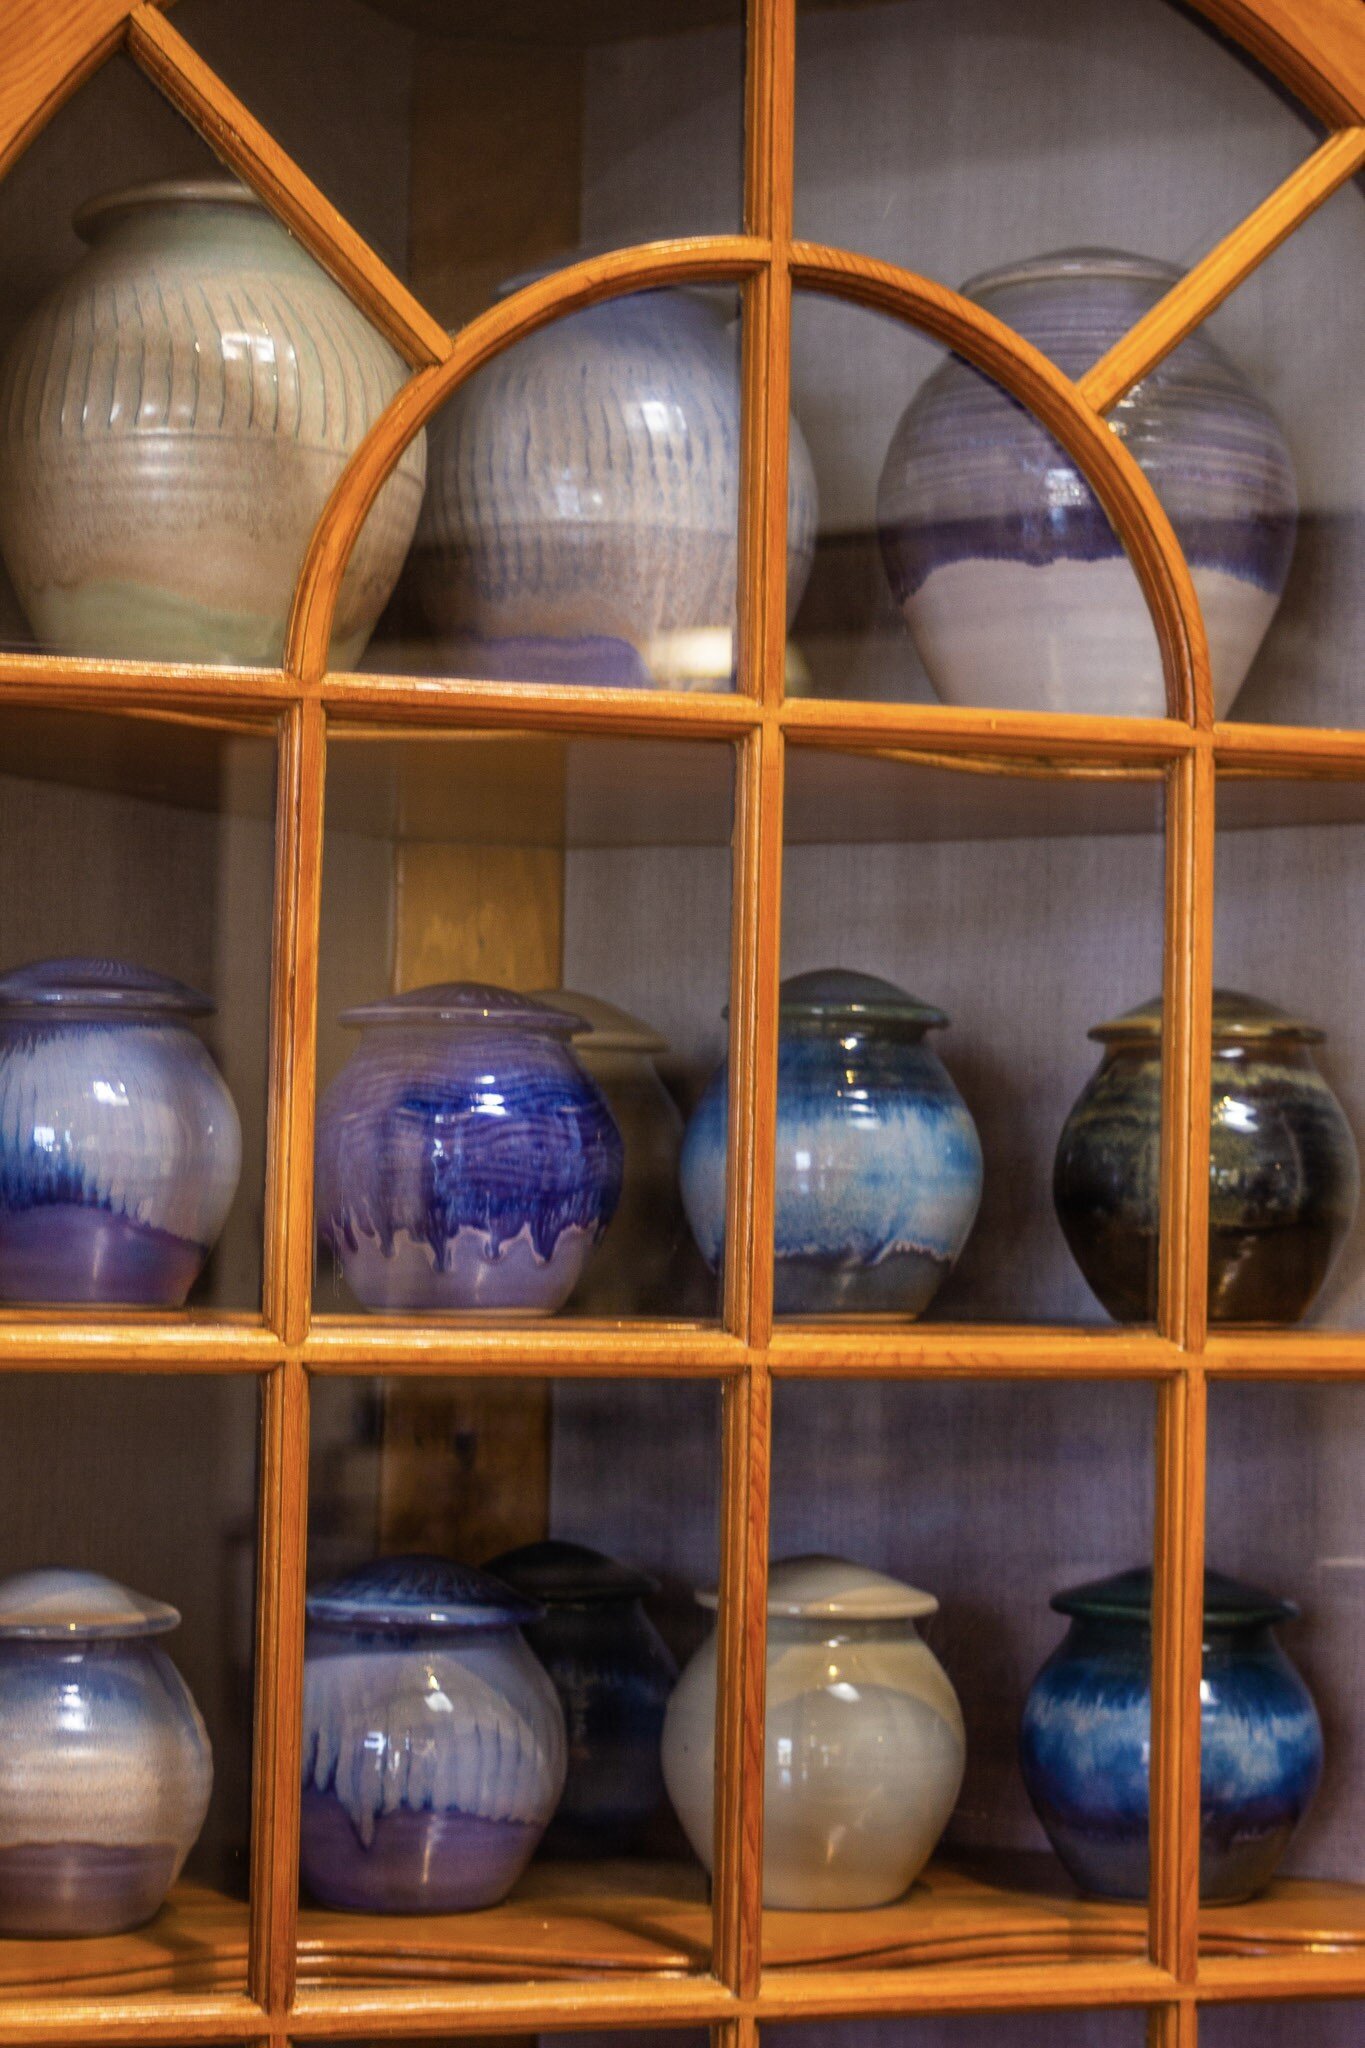
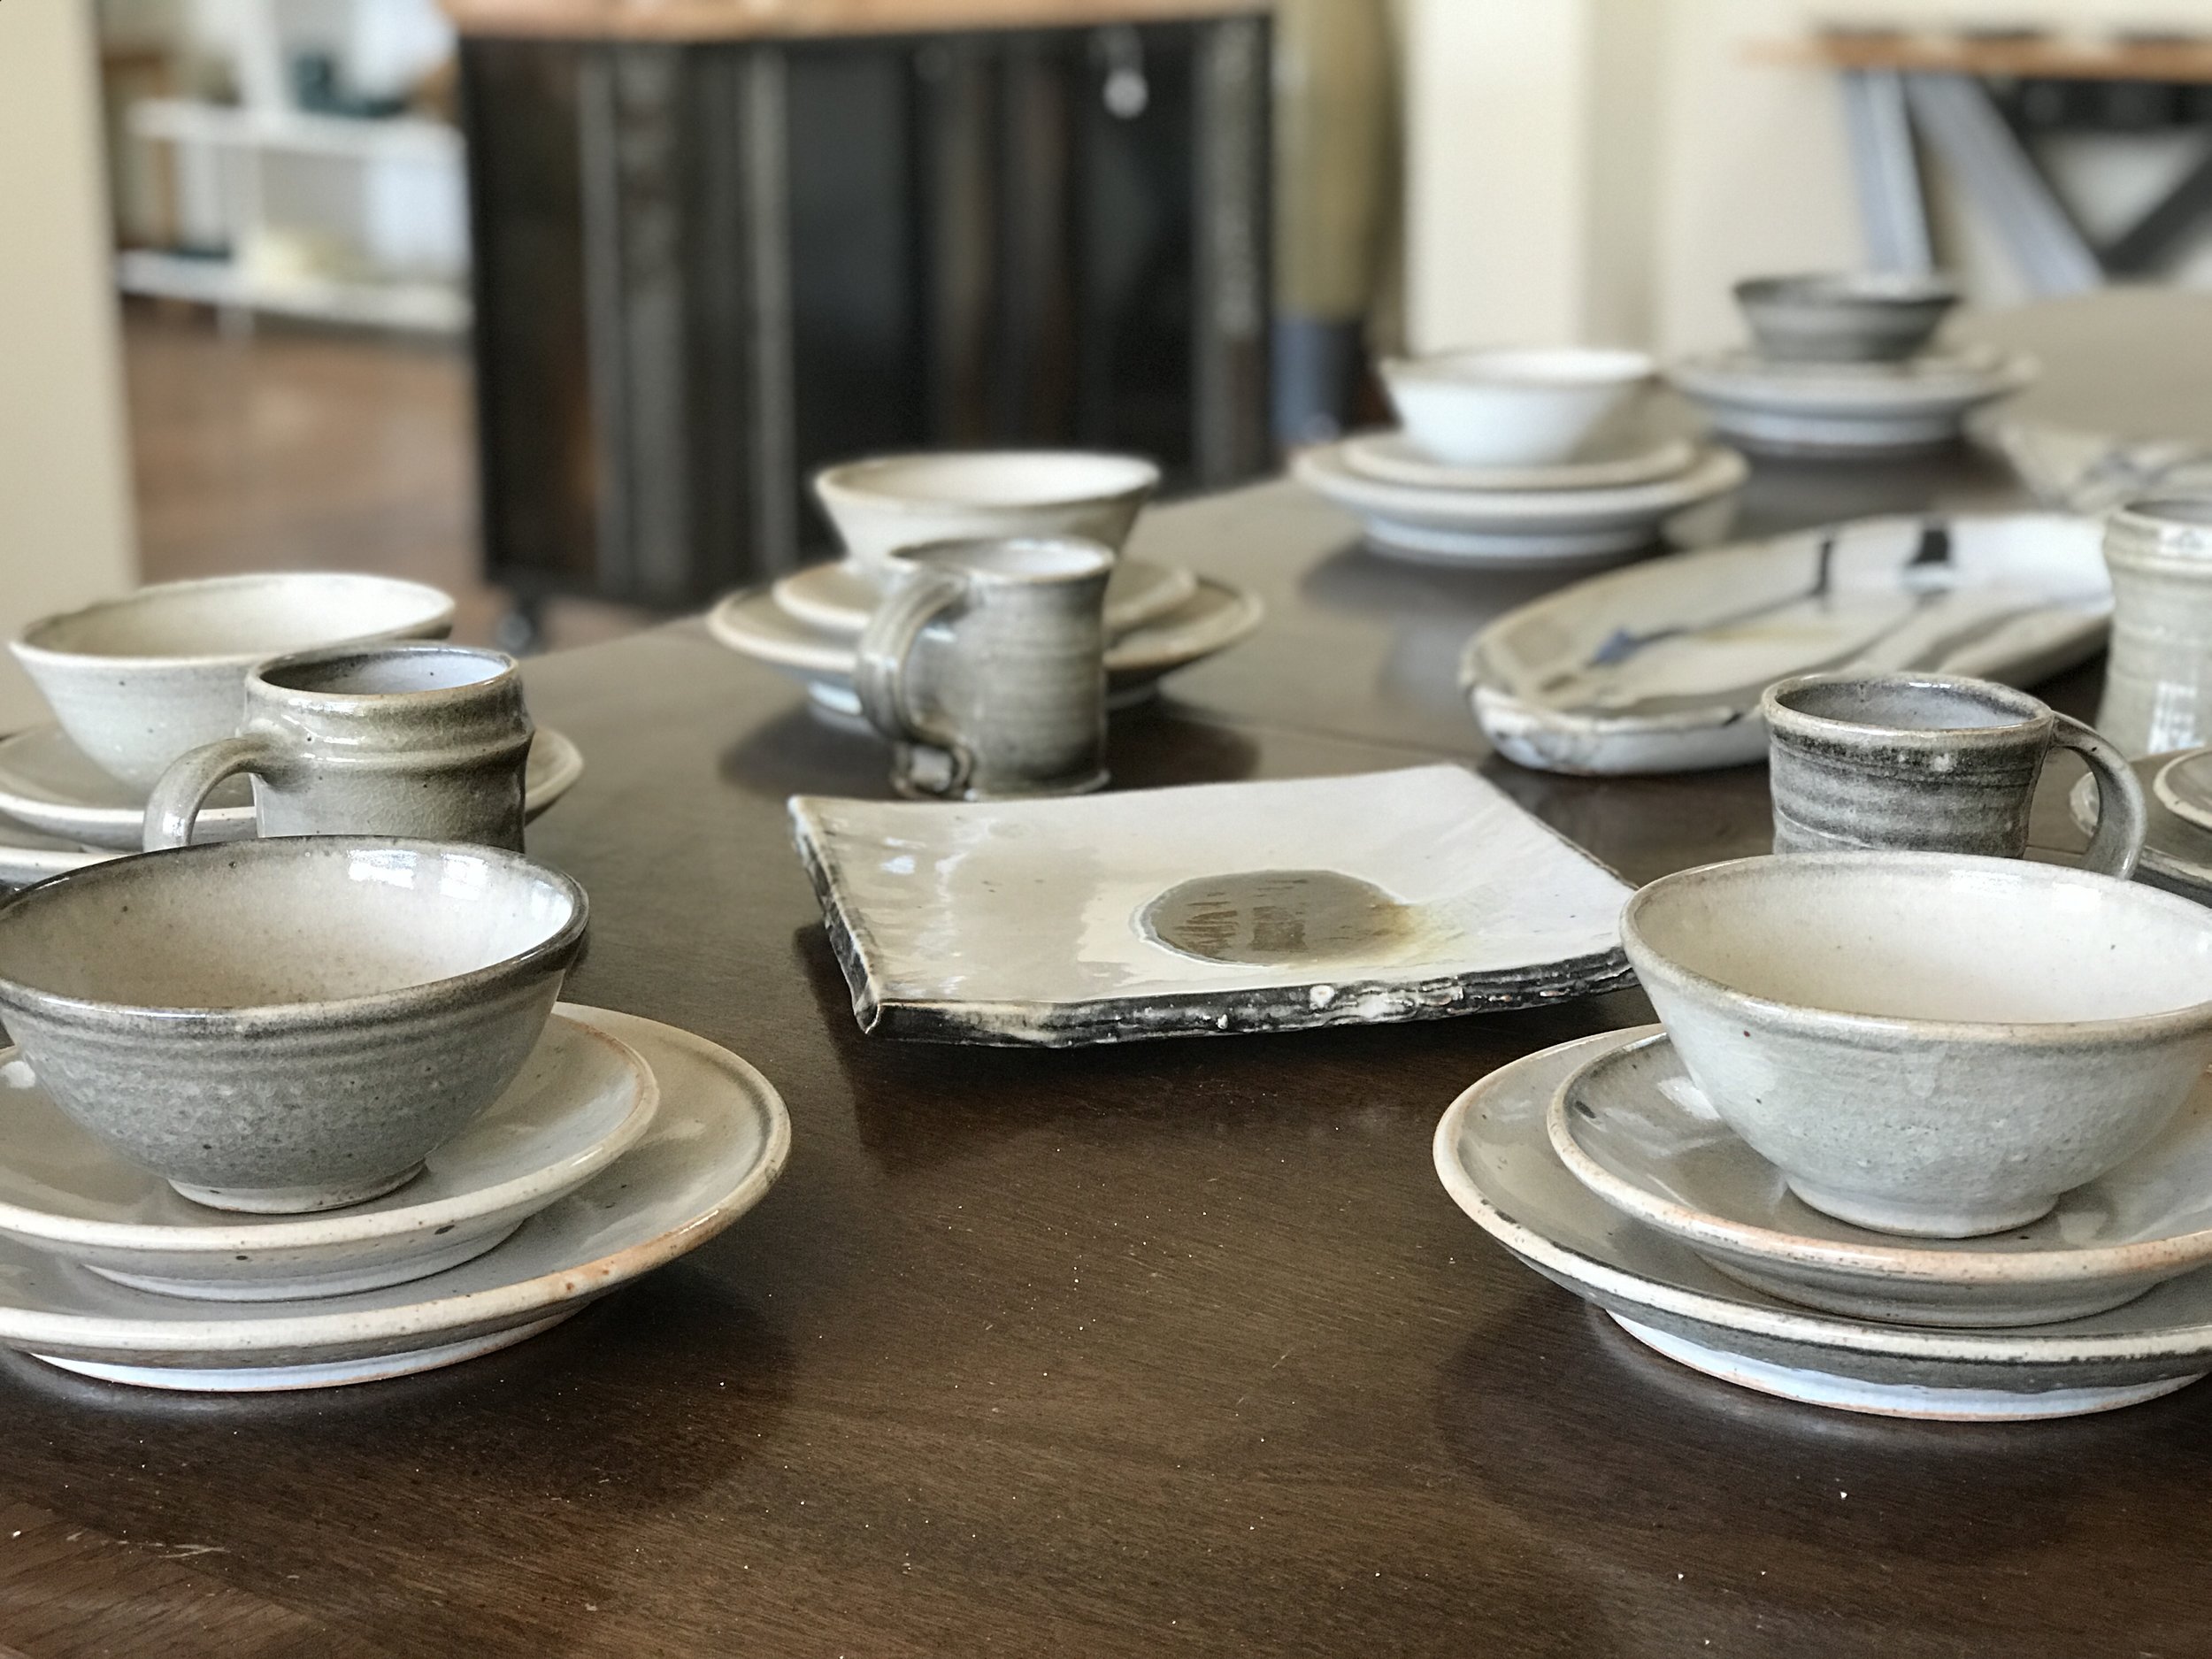
Even though it has been many years since Kent and I were MFA students, we embrace lifelong learning and continue this evaluation process. Sometimes, we make rapid artistic decisions intuitively, while others take more deliberation and time. Kent and I spent several years in school studying historical forms, solving visual design problems, sketching pots, and making thousands of pieces we used and analyzed. I don’t mean to overstate the work involved. It was challenging, but we also experienced much joy from this process and still do! Like then, Kent and I often act as sounding boards for each other. Our dining room is a veritable “Test Kitchen” for form and function. And we listen to our customers.

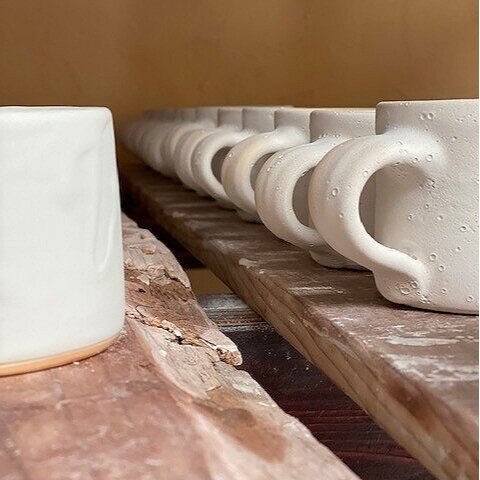
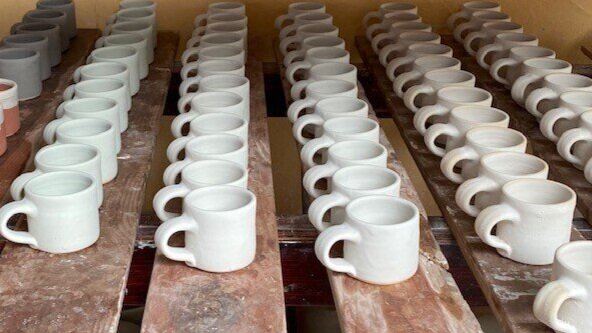
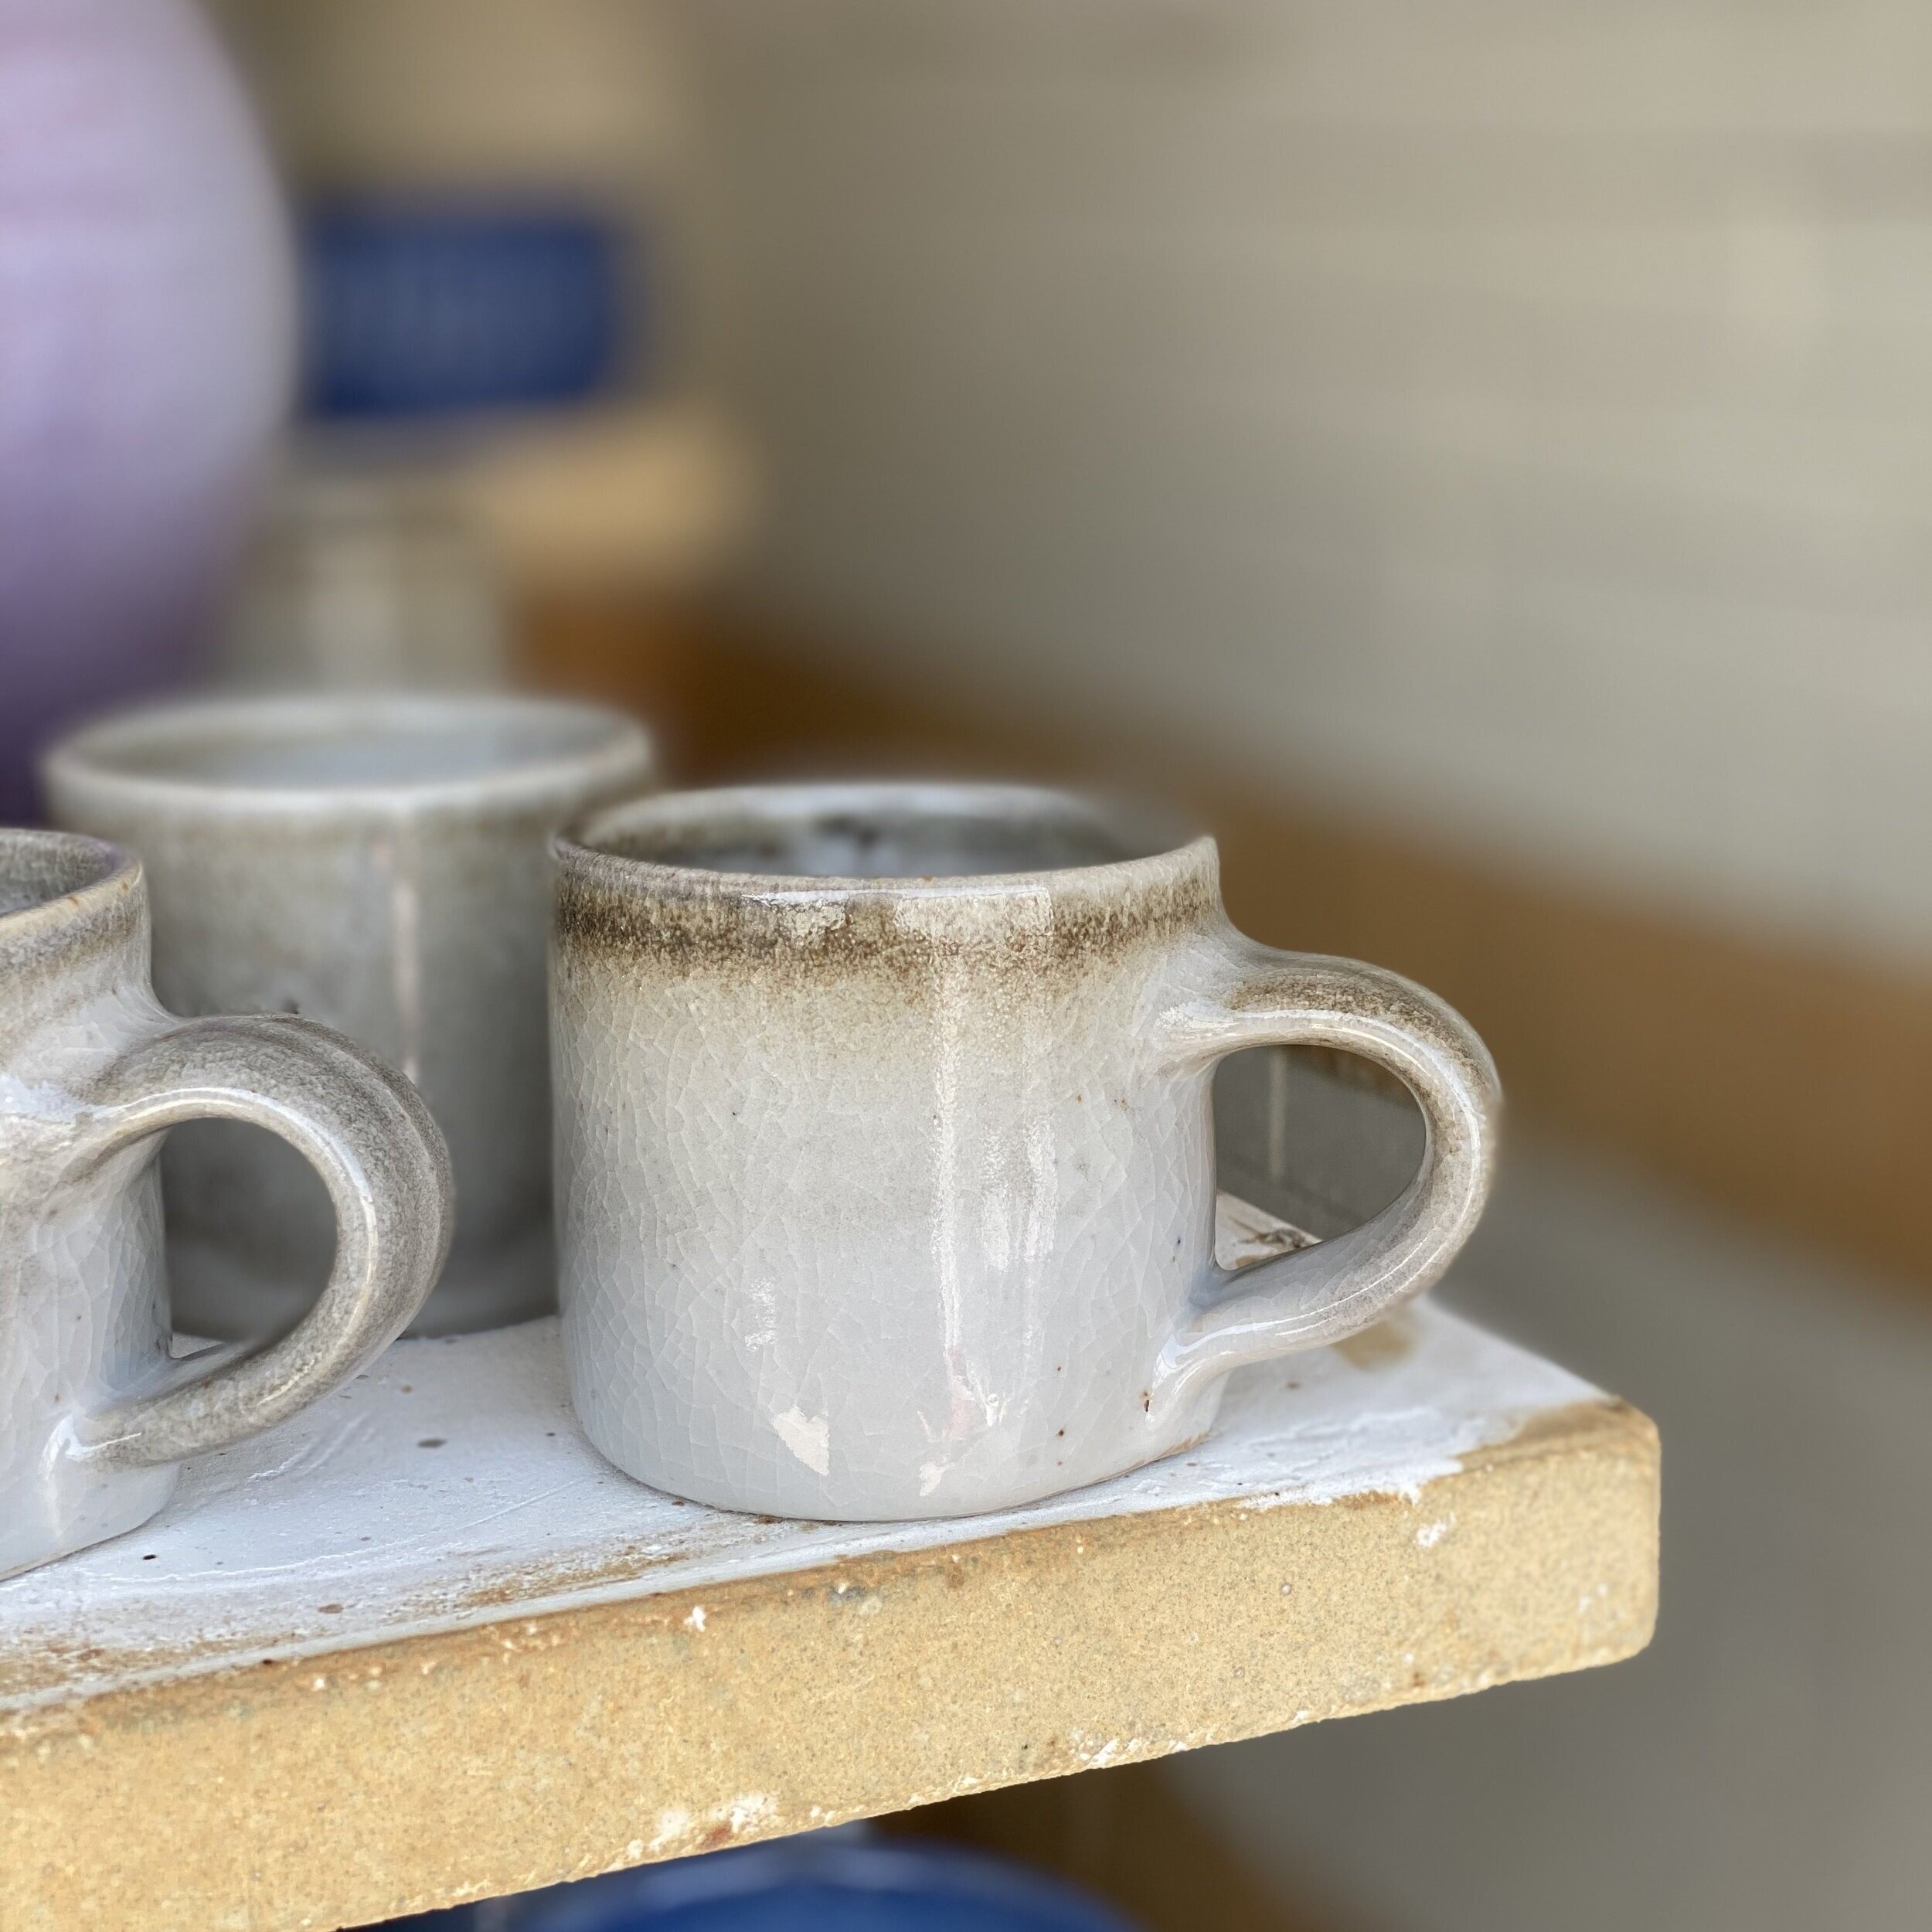
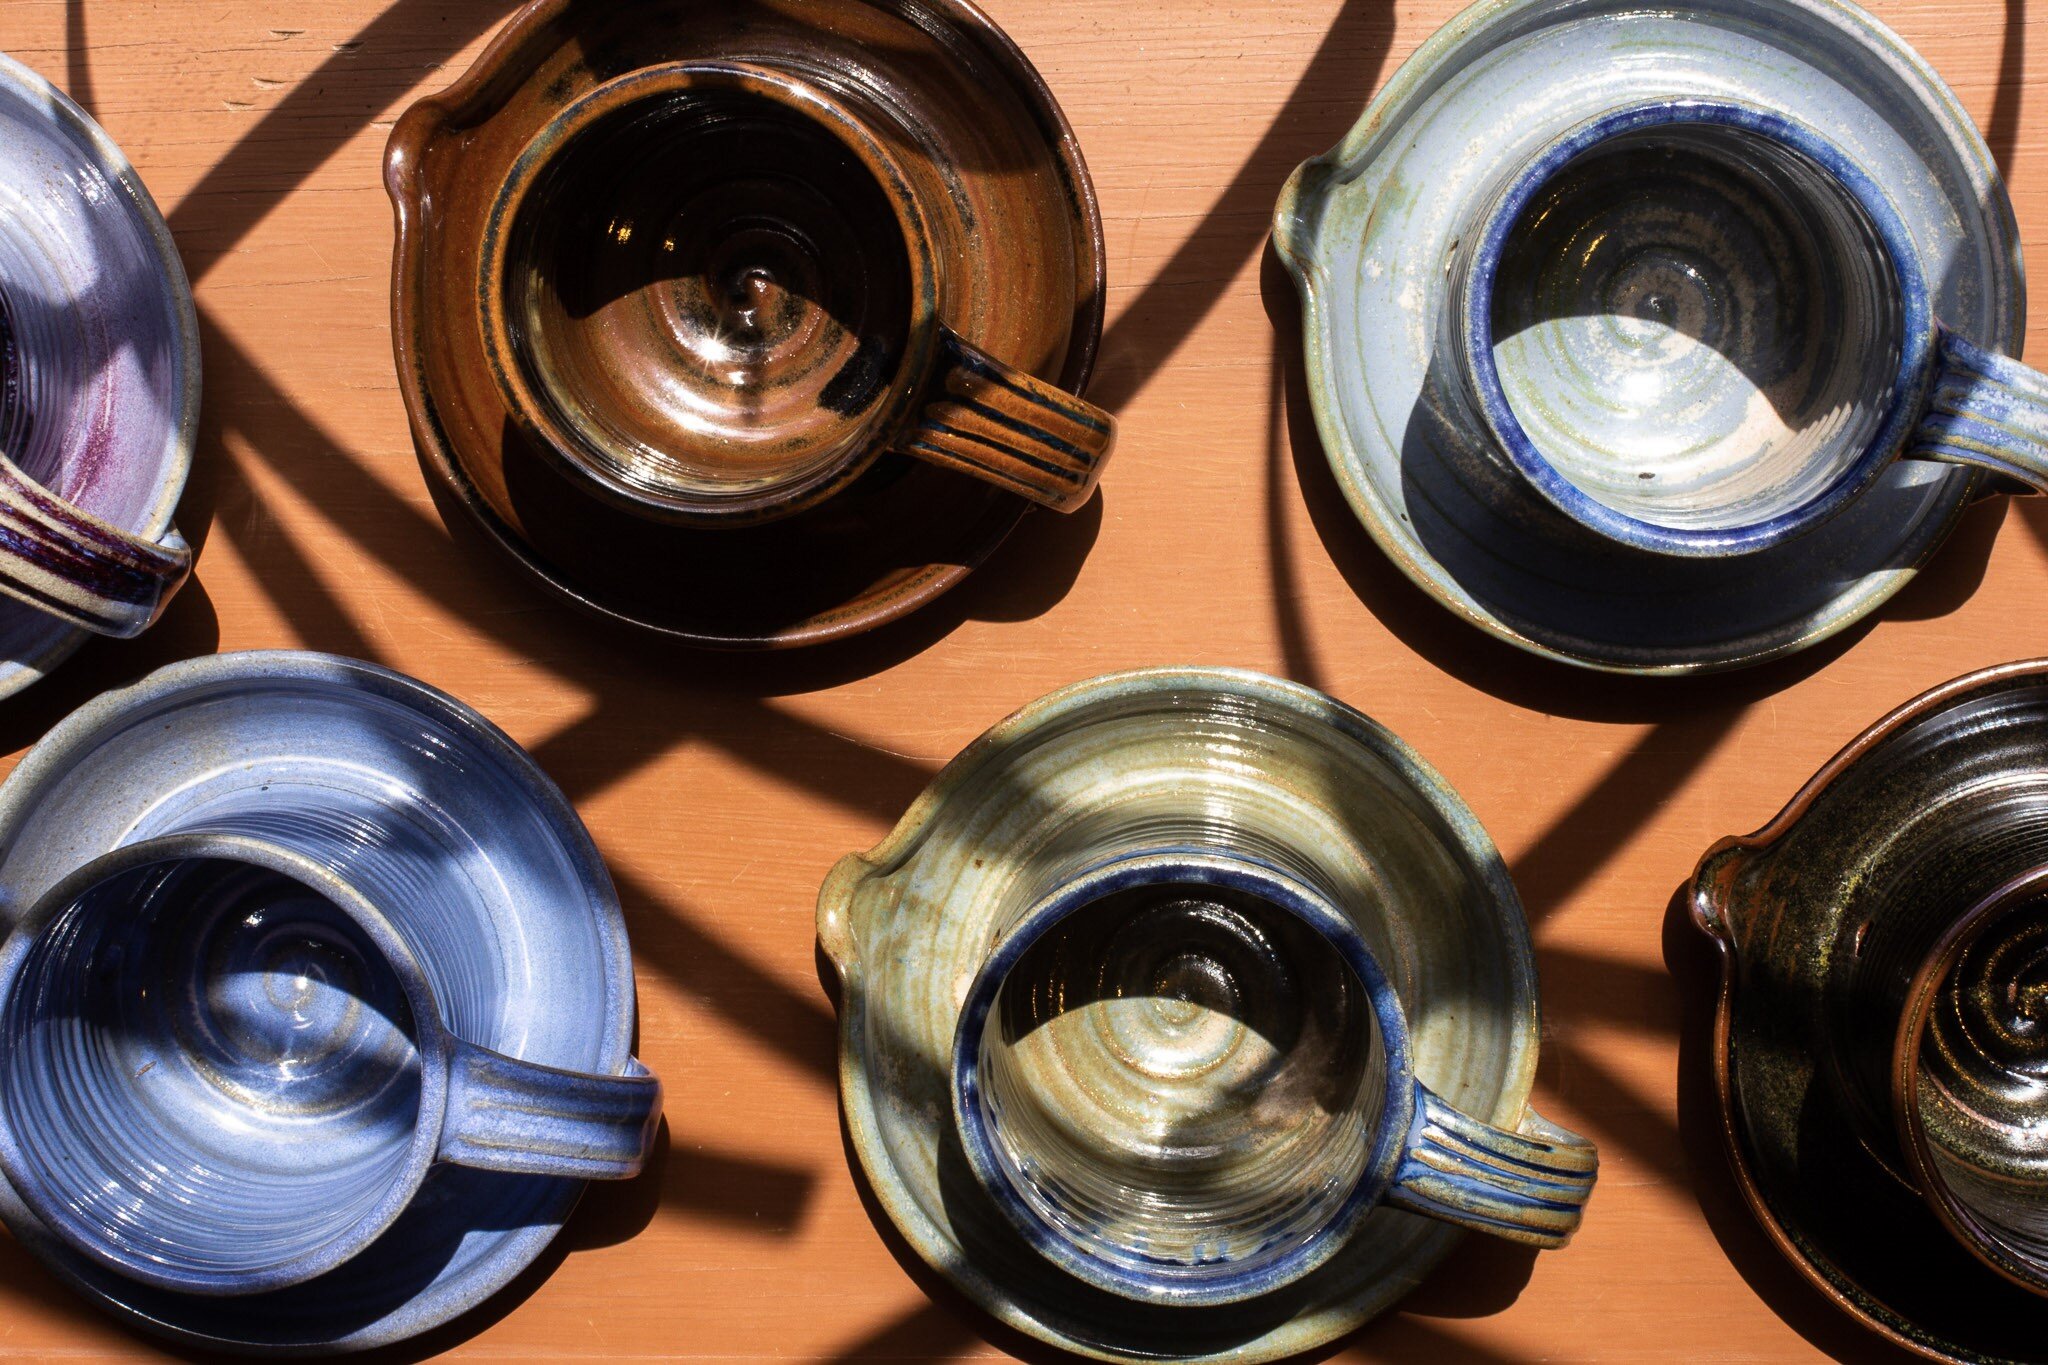
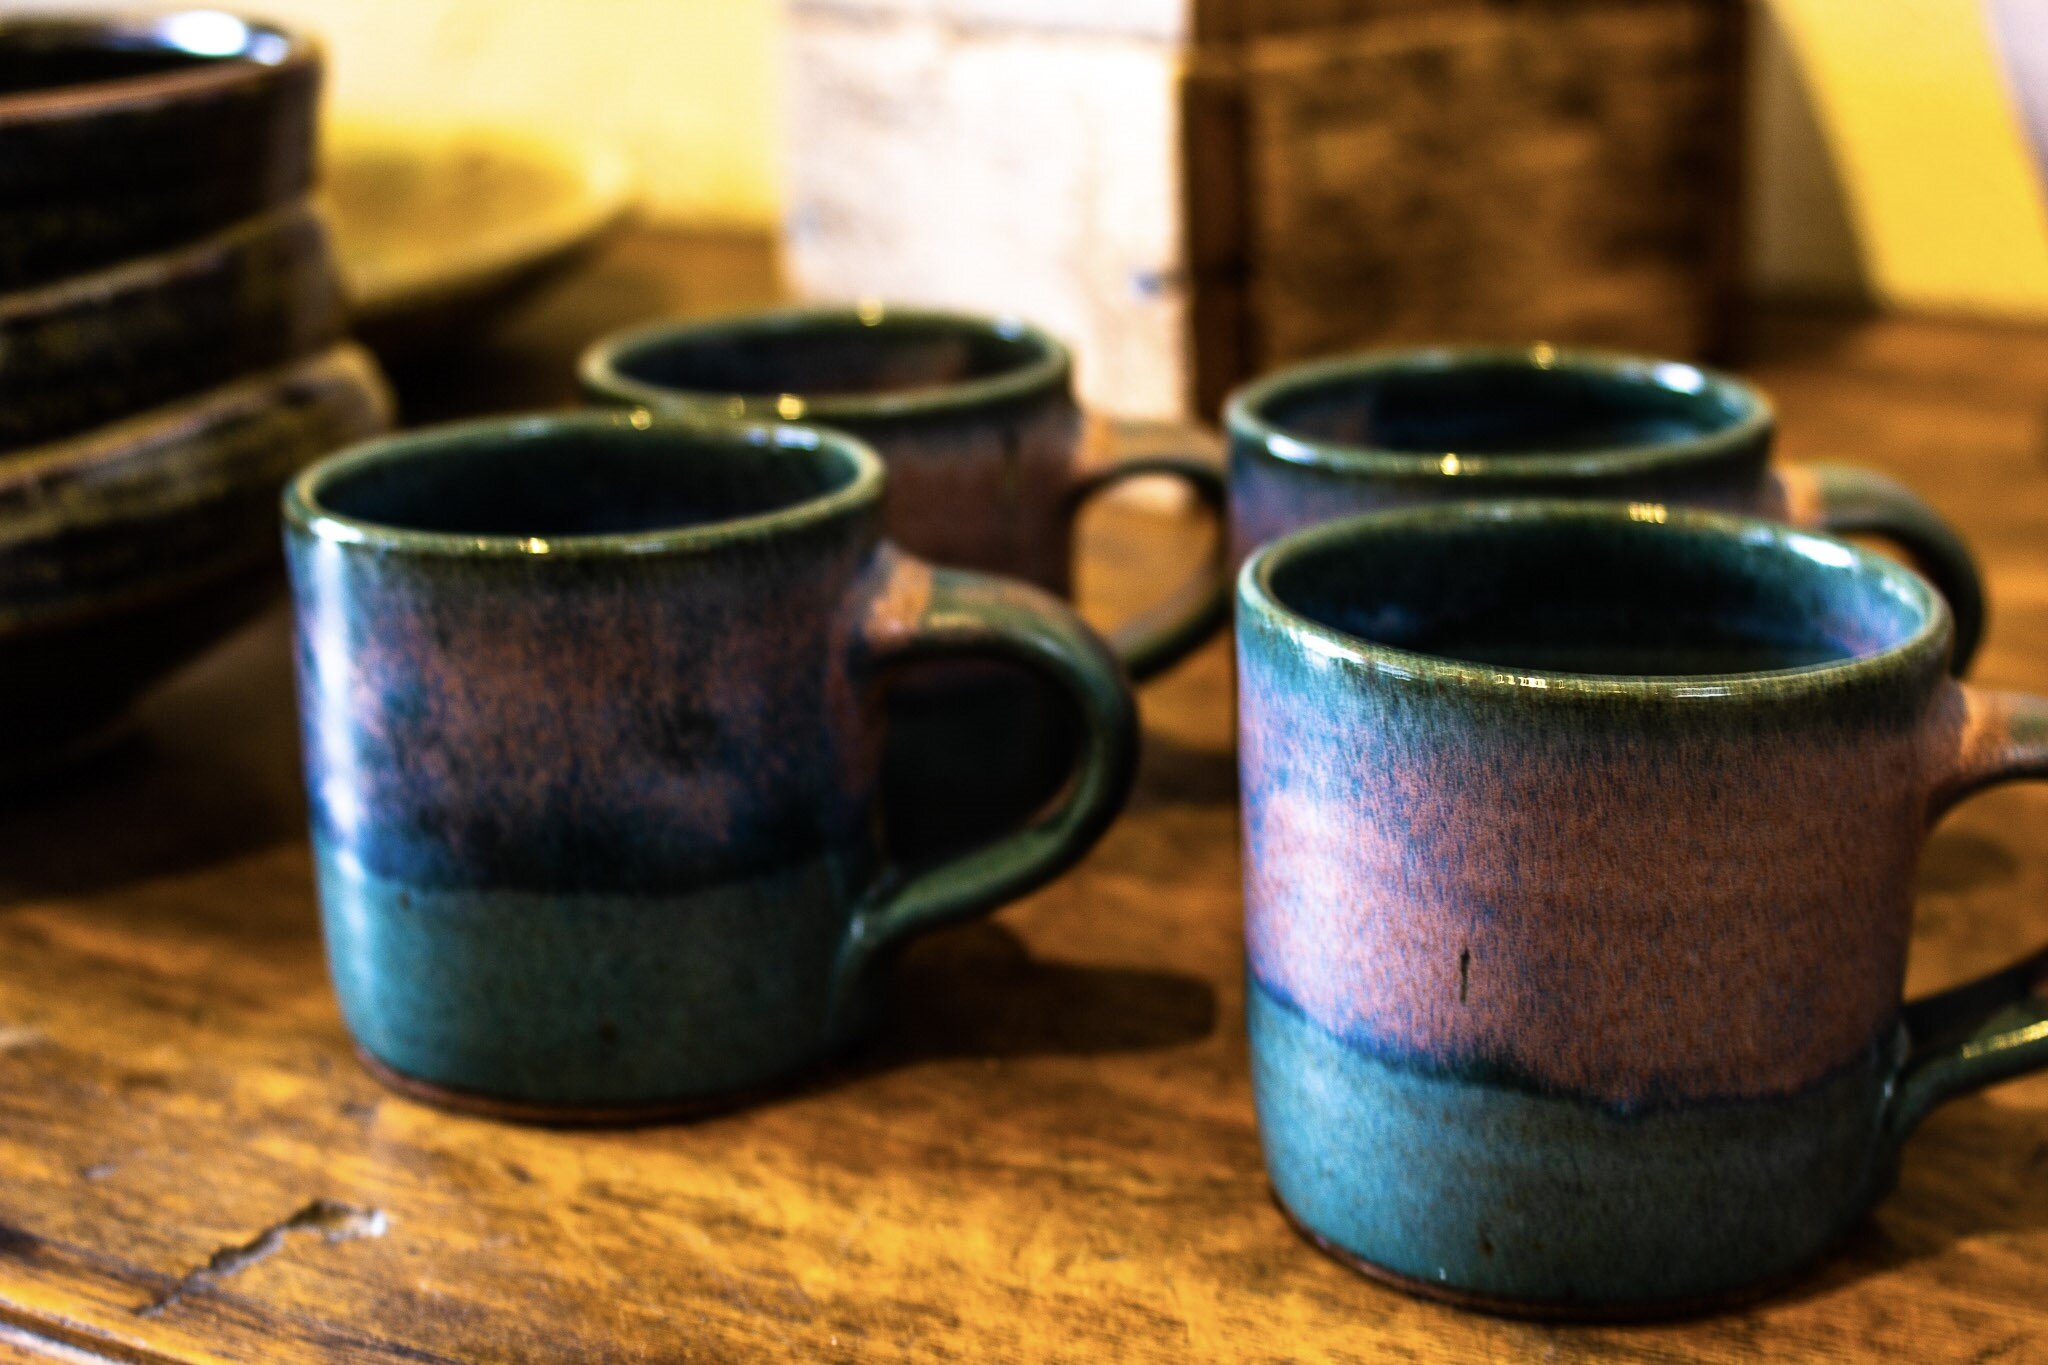
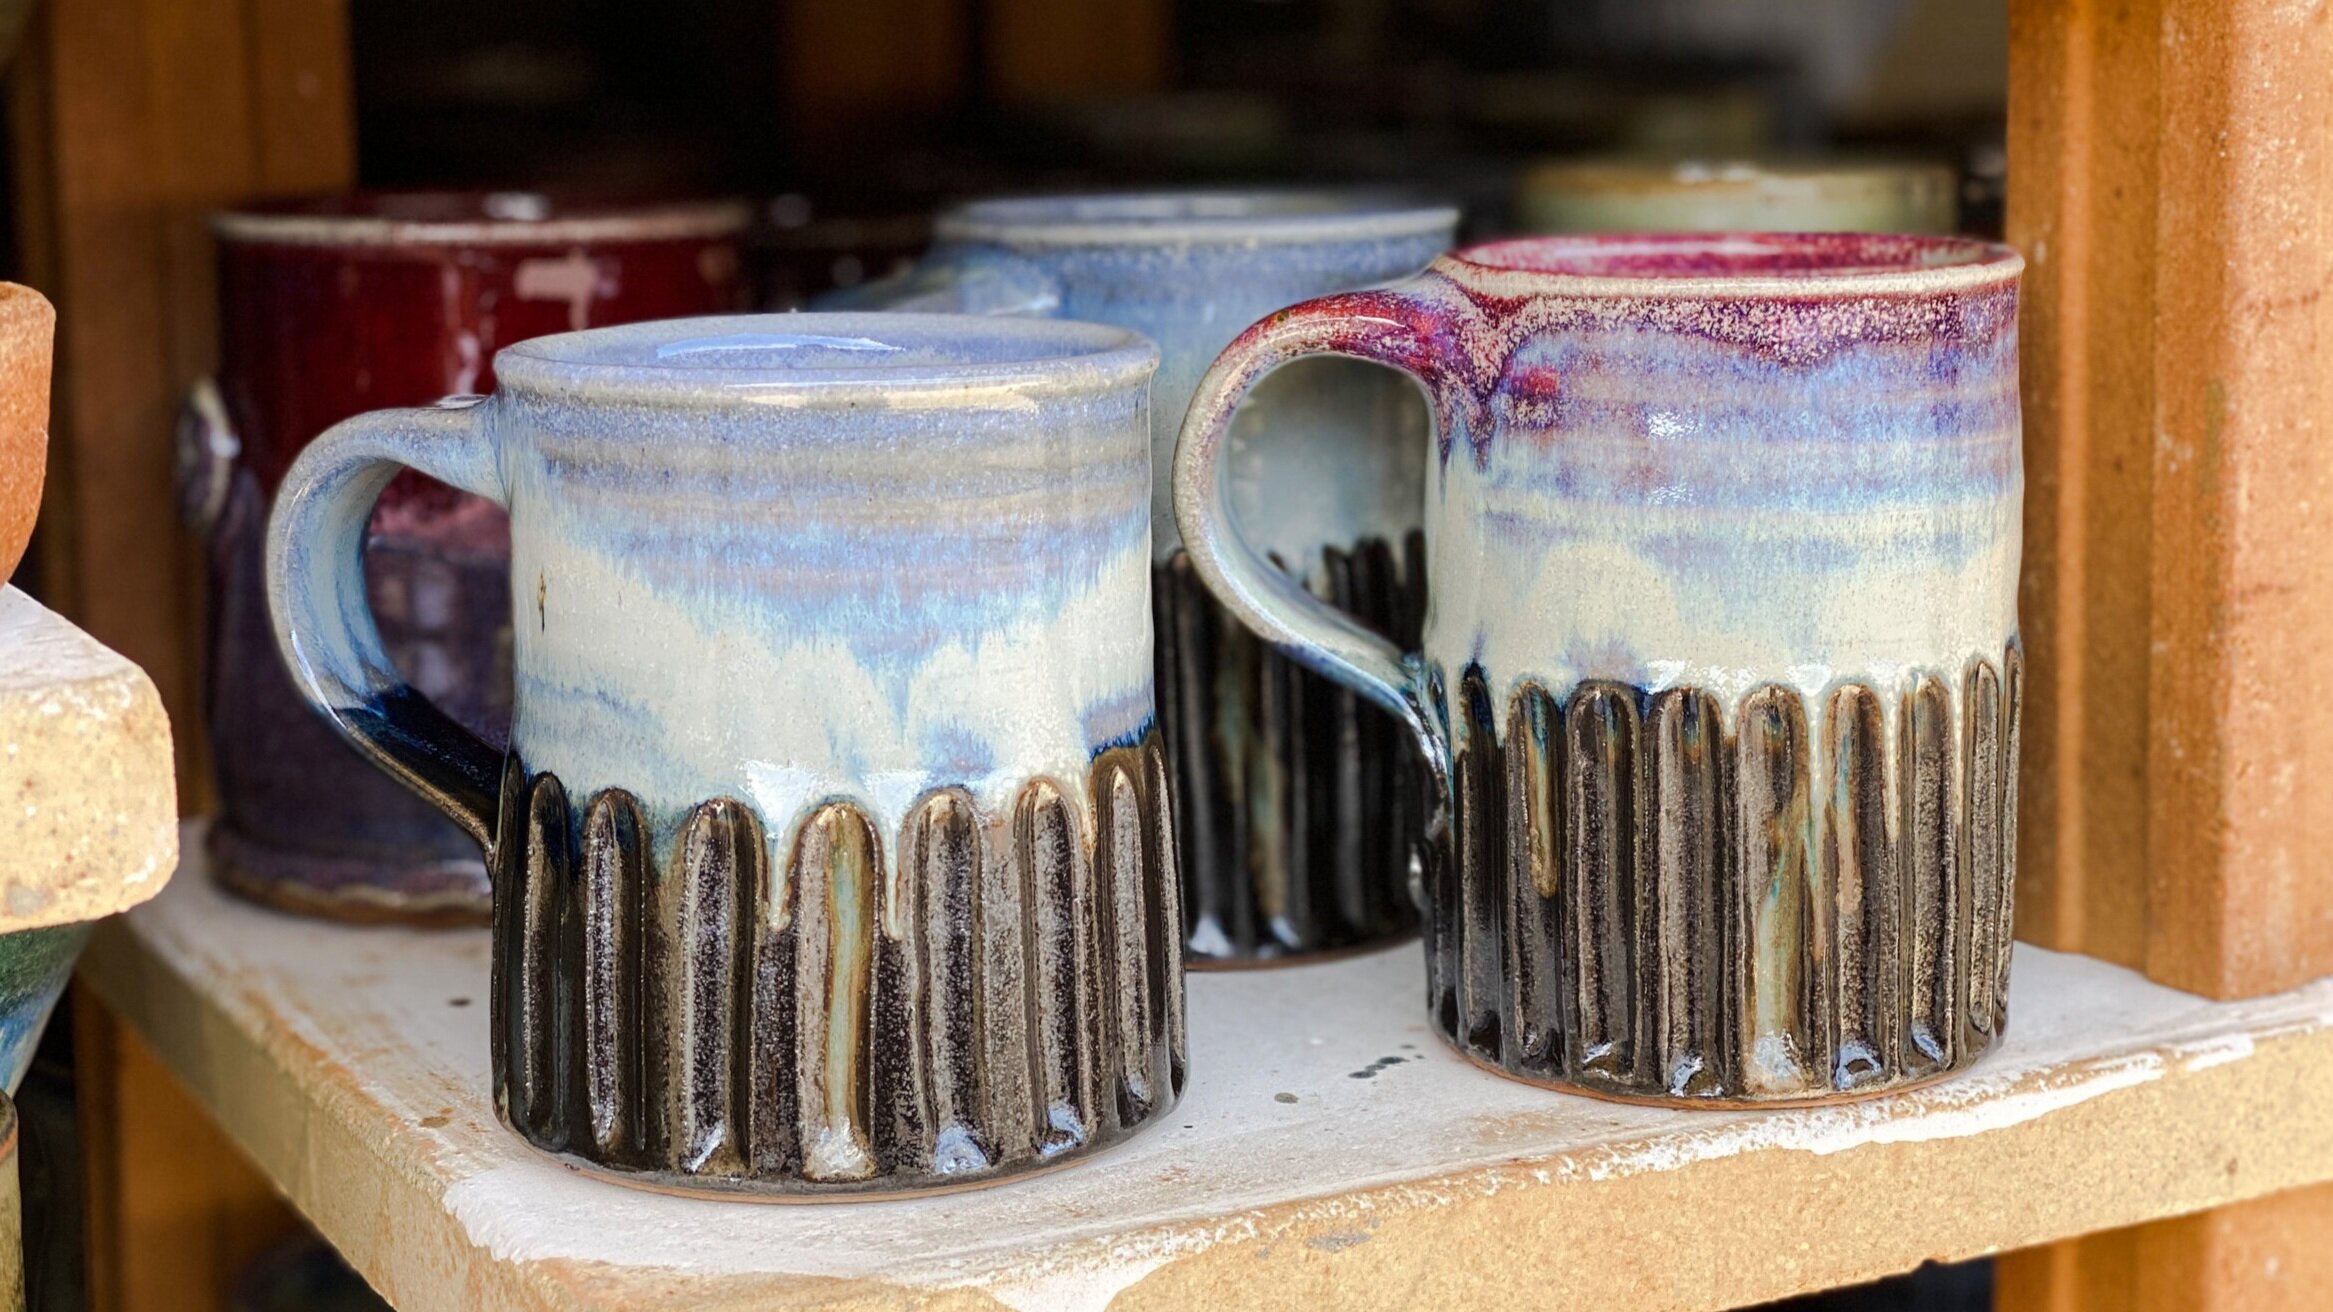
Recently, a few customers mentioned that espresso mugs should be smaller than the mugs we had made. Most of our espresso mugs at home have become water cups for kiddos because they are difficult to knock over, have a lower center of gravity, and have a smaller handle perfect for little fingers. We don’t drink that much espresso except for Kent’s occasional Caffe Americano. Hearing from customers that the espresso mugs needed to be a little smaller was an excellent opportunity for a ‘redesign.’ Kent has spent several weeks making more petite espresso mugs, and we wanted to share some photos. If you like what you see, check them out on the mug rack at Blue Sage Pottery.

Satisfy your coffee craving WITH our new MUG


CREATIVE EYE

Ansel Adams once said, “You don’t take a photograph, you make it.” A few weeks ago, we had the pleasure of Scotney Blackburn ‘making’ photographs in our gallery. Scotney is the creative eye behind Garnish Photography. I have known this creative lady her whole life and enjoyed watching her artistic journey. She has been developing her ‘photographer’s eye’ for a few years now, taking photos of food made by husband and chef Sam Blackburn and other chefs' creations. She also photographs events.

Below are some of the artistic photographs that Scotney made for us. I hope you enjoy these photos of our pottery and gallery as much as we did!

You are in for a visual treat if you follow Garnish Photos on Instagram and Facebook. Her captured moments are a feast for the eyes!

Feast your eyes.


SUMMER SOUP

Kent’s Small Soup Bowl is perfect for a light lunch.

Kent’s small soup bowl is perfect for a light lunch.

We recently finished up another firing at Blue Sage Pottery. This last firing included hundreds of soup bowls. I thought it was odd for Kent to make so many soup bowls in the summer, but then I went out in the garden to find giants! We have grown Zucchini the past few summers because they are easy to grow here! This year we started “Grey Zucchini” from seed, and then transplanted them into some new garden beds. This type of zucchini is a summer squash, perfect for making big batches of soup! I researched a lot of Zucchini Soup recipes online, and most recipes are similar.

“Grey Zucchini” from our garden.

“Grey Zucchini” from our garden.

Fresh herbs from our garden!

Fresh herbs from our garden!

Usually, you begin by sauteing garlic and onion in butter and oil. Next, add chopped zucchini and saute for a few more minutes. After a few minutes, add the stock and cook for 20 minutes. You really can’t get much easier than that!! Some recipes don’t blend the soup, but I like a creamy blended version best.

In addition to several squashes in the garden, we have many herbs growing. You could add a mixture of rosemary, oregano, lovage, and basil to put your spin on Zucchini Soup. If you haven’t grown herbs before, I highly recommend oregano and lovage, which grow almost as well as mint here in the Panhandle!

Blue Sage Pottery Soup Bowl

Blue Sage Pottery ‘Soup Bowl’

Lovage, a perennial herb, was recommended to me at the May Garden Sale at the Amarillo Botanical Gardens a few years ago. I took home a little Lovage plant and stuck it in a tough spot near the back door, which doesn’t drain well no matter how much I amend the soil. The lovage survived there, so it passed my hardiness test! The following year, I moved it to a slightly raised vegetable garden with better soil, and it has grown into a big, beautiful plant. At the moment, it is hidden by a trio of gargantuan tomato plants, but I am confident that it will be fine. Lovage tastes like celery; like celery, you can eat the leaves and stalk. I chopped the oregano, rosemary, and lovage and threw them in with the onions. I added the basil in the last few minutes of cooking for more flavor! See below for the full recipe!

The best part of making homemade soup is eating it in one of Kent’s bowls. They hold one cup perfectly, which is excellent for a ”soup and salad” lunch. Kent also makes a bigger soup bowl, his Chowder Bowl, that I like best for chili, so I have the extra space to load up on toppings! That is more of a football season meal for us, so I guess I will blog about that in the fall!

Zucchini Soup Recipe Card (1).png

savor your soup in a handmade bowl


TEXAS FIRING

“Candling the Kiln” (Heating it up slowly)

“Candling the Kiln” (Heating it up slowly).

When the forecast is 108 degrees, it’s best to arrive at the studio at the crack of dawn to load the kiln! Before the sun beams into the kiln yard, we have to get the kiln loaded, which also means building up the shelving system. I wanted to share Kent's photo before the last firing because it shows how we stack the kiln. With a kiln like ours, you rebuild the furniture system before most firings. We first stacked rows of cordierite shelves in the back and later built the front. You always use posts in three places to support each shelf and build the shelving up to ensure you don’t waste any firing space. In the photo, you can see that we stack the shelves closely together for plates and further apart for taller pots.

Our kiln is constructed of high-temperature refractory brick with a steel jacket. Kent had to replace all the bricks a few years ago and build a new sprung arch. The kiln now has nine-inch thick walls, which leads to slow cooling and more crystal formation in the glazes.

Kent is in the habit of watching the firing closely and adjusting airflow and fuel levels as needed. We also have two “cone packs” to determine the heat levels inside. The packs are the groups of three little triangles in the picture below.

This year, we have been averaging 3 or 4 firings per month. We usually put 200-250 pots in each firing, but that number varies depending on the pots' size. Below are some pictures from our firing this past week.

Wine Goblets for Uncommon Goods

Wine Goblets for Uncommon Goods

This past firing had 100 goblets because Kent will be selling these through Uncommon Goods. Look for more about that soon! We also had several plates in there since Kent continues to make individual dinner sets for sale in our shop, Blue Sage Pottery on 6th, and in our Etsy store. Here are some recent plates fired with a Shino glaze. This glaze varies from white to silver, with iron spots and occasional orange on the rims. It is a subtle complement to many different types of cuisine, and we have a set of these at home that we use frequently for big salads and pasta dishes. Please stop by the gallery to check out our newest stoneware pottery and dinnerware or view the latest in our online shop!

Shino Plates

Shino Plates

visit the gallery to see the latest pots


THE PORCELAIN EXPERIMENT

When Kent talks about making porcelain pottery, people sometimes look perplexed.  I imagine they envision Grandmom’s ‘china’ with golden rims and floral motifs, the delicate dinner set that comes out once a year or once in a lifetime.  It is hard for people to reconcile the image of those dainty decorative dishes with handmade porcelain pottery, but the two have at least one thing in common.  

Spiral-wedged Porcelain Clay

Spiral-wedged Porcelain Clay

‘China’ vs. Porcelain

The main similarity between ‘china’ and handmade porcelain pots is their similar clay body.  For those of you not familiar with clay terms, there are three main types of clay that potters use: earthenware, stoneware, and porcelain.  These three main types of clay encompass an endless variety of clay bodies.  Clay bodies are unique blends of clays, glasses, and other minerals that have been combined to make a variety of processes and finishes possible.  

Porcelain Mug by Kent Harris

Porcelain Mug by Kent Harris

The 3 Types of Clay

Earthenware clay is a clay that matures at a lower temperature.  It can be a variety of colors but is often terracotta or orangy red.  Potters that work with majolica glazes often use this clay.  It is an excellent option for schools because electric kilns easily fire to the lower temperature required, and bright colors are achieved with little effort.  The majority of wheel-throwing potters who make functional ware more often use the second type of clay, stoneware.  That is what we typically use at Blue Sage Pottery. 

Stoneware clay matures at a much higher temperature than earthenware.  It is less porous than earthenware, making it a good option for dinnerware.  The absorption of fired stoneware is 1-2 % compared to 10-15 % with earthenware clay.  Stonewares are typically strong durable clay bodies that hold up to dishwashing and frequent use.  For the last several years, Kent and I have used porcelaneous stoneware.  Essentially this is a stoneware clay body that includes a more significant amount of kaolin clay than many other stonewares.  It is a light-colored clay which allows the colors of the glazes to stay brighter, yet it has the plasticity of stoneware.   

Porcelain Urn with Layered Glazes

Porcelain Urn with Layered Glazes

Porcelain is the third main type of clay, and like earthenware and stoneware, there are a variety of clay bodies known as ‘porcelain.’  Porcelain is what your grandmom’s ‘china’ is made of.  The difference is that manufactured ‘china’ may have up to 30% cow bone ash mixed into the clay blend to achieve the desired characteristics for the industrial processes.  Ceramic manufacturers in England and Europe have been mixing animal bone ash into their porcelain bodies since the 1800s. The porcelain clay bodies potters use do not have mixed animal bone ash.  We use more pure porcelain clay bodies that blend feldspathic rocks and kaolins.  

Porcelain Urns at the Greenware Stage

Porcelain Urns at the Greenware Stage

Porcelain Urn with Clear Glaze

Porcelain Urn with Clear Glaze

Why Porcelain?

Porcelain is prized by potters for its translucency and resonance. Despite the allure, potters often avoid using porcelain clay bodies because of the notorious working consistency.  Porcelain is known to crack while drying and warp during firing.  When I tried porcelain for the first time in graduate school, half of my work cracked during the drying process!  True porcelains have a high learning curve! 

Despite the difficulty of working with porcelain, Kent has recently spent his spare time experimenting with several different porcelain clay bodies.  Inspired by Sung Dynasty pots, he began a quest to make elegant porcelain forms with little of the texture he commonly used.  He has been particularly interested in making porcelain urns that are ‘light and bright,’ and his pots from our most recent firing fit that description.  Because there are no iron or fire clays mixed into the porcelain, like you would find in stoneware bodies, Kent has achieved whites and celadons like never before.  Below are examples of some recent porcelain urns.

Porcelain Urns: Standard, Companion, Keepsake and Pet

Porcelain Urns: Standard, Companion, Keepsake and Pet

If you want to check out more of Kent’s porcelain experiments, follow him on Instagram.

Start your own porcelain collection


COLORS OF A POT

“How do you get your colors?”  This is a question we get a lot from people new to pottery collecting.  This question is a lot like asking, “why is the sky blue?”.  There is a short and a long answer.  Like learning about the color of the sky, the long answer leads one to deepen their understanding of science and art.  In today’s blog post, I hope to give anyone interested in our pottery more knowledge about the nature of glazes.  To understand how we get the colors in our pottery, one needs to understand what glazes are, how glazes are made, and how the kiln's firing affects the colors.  

Kent’s colorful platter bowl from the last firing!

Kent’s colorful platter bowl from the last firing!

What is a glaze?

A glaze begins as a unique blend of raw minerals mixed to a paint-like consistency.  The colors on our pots are glazes applied to bisque ware, pots that have already been fired to about 1753° or Cone 08, and then fired to 2381°, Cone 10, or even hotter! (A cone is a unit of measurement that potters use to determine the temperature of the firing). In the second firing, the applied glaze melts and bonds to the pot, becoming a vitreous glass-like surface that fuses onto the clay. 

These are cone packs that we make for each glaze firing to monitor the temperature.  We watch the cones melt and bend through the spyholes in the kiln.

We make cone packs for each glaze firing to monitor the temperature. We watch the cones melt and bend through the spyholes in the kiln.

How are glazes made?

Glazes are made by weighing out dry minerals and mixing them together following recipes.  Each recipe includes at least a glass, a clay, and a flux, which lowers the melting temperature of the glaze mixture.  Most recipes include more than one of each and also include minerals that opacify or color the mature glaze. 

A glaze recipe is typically written as a 100 gram batch.  100 grams is a small amount of glaze that potters use to make “test tiles”.  After lots of experimentation to get the desired glaze, we mix larger glaze batches for our studio. Because we dip-glaze at Blue Sage Pottery, we have to make at least 10,000 gram batches of each color.  

Dip-glazing a mug in a 10,000 gram of batch of glaze. This glaze will actually be red after it is fired!

Dip-glazing a mug in a 10,000 gram of batch of glaze. This glaze will actually be red after it is fired!

“Where do you get your glazes,” is another question we often hear in the gallery.  At Blue Sage Pottery, we mix our glazes using a few popular glaze recipes, but mostly our recipes, that we have developed over twenty years of pottery making.  Some potters use commercially prepared glazes or glaze mixes that they purchase from ceramic suppliers, but we prefer to control our process and finished product.  Our recipes come from both intentional experimentation and the cultivation of happy accidents!  Glaze chemistry and calculation are part math, science, and art.  It is probably the closest activity to medieval alchemy that exists today.  We have a lot of fun experimenting with new colors and finishes!


How does the firing affect the color?

The first experience for most potters is to fire their glazed work in an electric kiln, and the results are generally less than exciting.  After a few classes, the lucky pottery student gets to fire in a gas-fueled kiln in reduction. As we progressed from students to professionals, Kent and I began to understand that the amount of oxygen in the kiln and the firing atmosphere are the biggest factors in how an average glaze becomes excellent. Many firings have led to the ability to regulate the kiln's atmosphere and allow us to achieve the desired colors consistently!

Kent has just finished the hard work of loading the kiln and is getting ready to fire in this photo!

Kent has just finished the hard work of loading the kiln and is getting ready to fire in this photo!

We generally fire our gas kiln as an oxygen-deprived or reduction atmosphere resulting in some awesome reds and purples.  Using an iron red glaze rather than a copper red will create a more oxygen-rich environment.  Different glazes need different amounts of oxygen to achieve their rich colors. The colors of our pots depend on the minerals added to the glaze during mixing and the amount of oxygen in the final firing.

Can you eat off the pots?

Another common question from our customers is, “Can you eat off of these?”  Yes!  We only use food-safe glazes that have been fired to the proper temperature.  Our hand-made glazes are lead-free and barium-free.  You can use them in the microwave and dishwasher, making incorporating our pottery into your daily routines easy!  Coffee anyone?

These mugs are still warm to the touch!  In this photo we are letting the clay cool, so we can unload the kiln.

These mugs are still warm to the touch! In this photo, we are letting the clay cool so that we can unload the kiln.

There is a lot more to glazes, but hopefully, this post answers the questions most commonly asked by our collectors. 

try out one of our pots


EXCITING CHANGES

One of the things we love about pottery is that once a creation is fired, the job is done. Every physical detail making that pot or mug or bowl special is captured in time, and the future is up to its owner. Next time around we can experiment with a different glaze or design, but the job—at least for the moment—is finished.

IMG_4922.jpeg

Most of life is different. Life is in flux, the clay is still on the wheel. No matter how well things are going, we can work hard and make them better. That’s true for art, for businesses, for families, for everyone. We continue to grow and encourage growth in those around us. The more we improve ourselves, the more our community improves along with us.

Blue Sage Pottery is doing great. That might seem a strange time to make changes, but we didn’t get where we are by standing still. Just as we continue to hone our craft, we’ll keep doing everything we can to keep Blue Sage the premier pottery studio in Amarillo, Texas. We’ve updated our logo and we’ve given our website a makeover. But the soul of Blue Sage hasn’t changed.

WE STILL MAKE GREAT POTTERY

FFD2A283-8F28-4419-8BE5-E9B757F34D2E.jpeg

There was a time, not that long ago, that everything we used in our kitchens was made by hand. Every treasured pot and pan was one-of-a-kind. At Blue Sage, we’d like to get back to that mentality of building something that lasts, but keep the convenience we all love.

The quality of our pottery continues to be exceptional, with every piece unique, functional, and long-lasting.  We still make every piece by hand on the potter’s wheel or slab roller.  Our work looks great on display in your home or garden, but our pottery is useful in your daily life. Our clay and glazes are still dishwasher and kitchen safe.  Our pottery’s still as durable as it is beautiful, so you can brighten up meals and even your morning cup of coffee. All our pottery is dishwasher safe, so you’ll want to use it all the time!

We’ve expanded our partnerships with businesses who utilize our quality pottery for their own products. You can’t beat Blue Sage for consistency, and our large studio allows us to meet high demands. If you’re interested in using Blue Sage for your business, please contact us

Our selections of urns has grown. We believe everyone deserves to choose how they’ll honor someone, or how they’d like to be remembered. If you’re interested in our urns, you can visit our studio or browse our online gallery.

THE BEST POTTERY CLASSES IN AMARILLO

IMG_3677.jpeg

Artists have a long history of passing on their skills and secrets from masters to apprentices. That’s why we’re still offering the best pottery classes in Amarillo. Whether you’re wanting to learn a new skill, make someone an unforgettable gift, or just looking for a new way to relax, you can’t go wrong with our pottery classes. We were all beginners once, and artists of all skill levels are welcome. 

You can learn how to hand-build with clay or use the potter’s wheel. Each session lasts 7 weeks, with six weeks of classes. We take one week off for drying before glazing our creations. Those six weeks include two hours of instruction time and, for the wheel classes, two hours of open studio time per week. 

Our wheel classes meet Mondays, Wednesdays, or Thursdays from 6:30 to 8:30 p.m. and on Saturdays from 10 a.m. to noon. Tuition is $180 per session, which covers the use of clay, tools and equipment, and the glazing and firing of ten small to medium size pieces that you can take home.  

Our classes are in high demand, so space is limited. If you’re interested, you can learn more here. Remember, Blue Sage Pottery classes make a great gift!

OUR GALLERY

We’re fortunate at Blue Sage to run a gallery alongside our working pottery studio. At our location on 6th Street in Amarillo, on historic Route 66, you can see our pottery (and us!) in person.  We’d love the opportunity to meet you and demonstrate what makes our work so special. We’re open Tuesday through Saturday from 10 a.m. to 5 p.m. and on Mondays by appointment.

It’s an exciting time in Amarillo, Texas. The arts community is continuing to grow, and we’re doing our part to add our special flare to the thriving cultural scene. Not only is our gallery the place to showcase our pottery, it’s our opportunity to feature the work of local artists. Blue Sage is the perfect place to find something special for yourself or someone you love, and we always have something new.

We don’t know everything the future holds for Amarillo and for Blue Sage Pottery. But we’ll continue doing what we love and helping others do the same. Come visit us at our gallery, or browse our creations online. You’re sure to find something new and special.

IMG_4569.jpeg

Browse our online collection