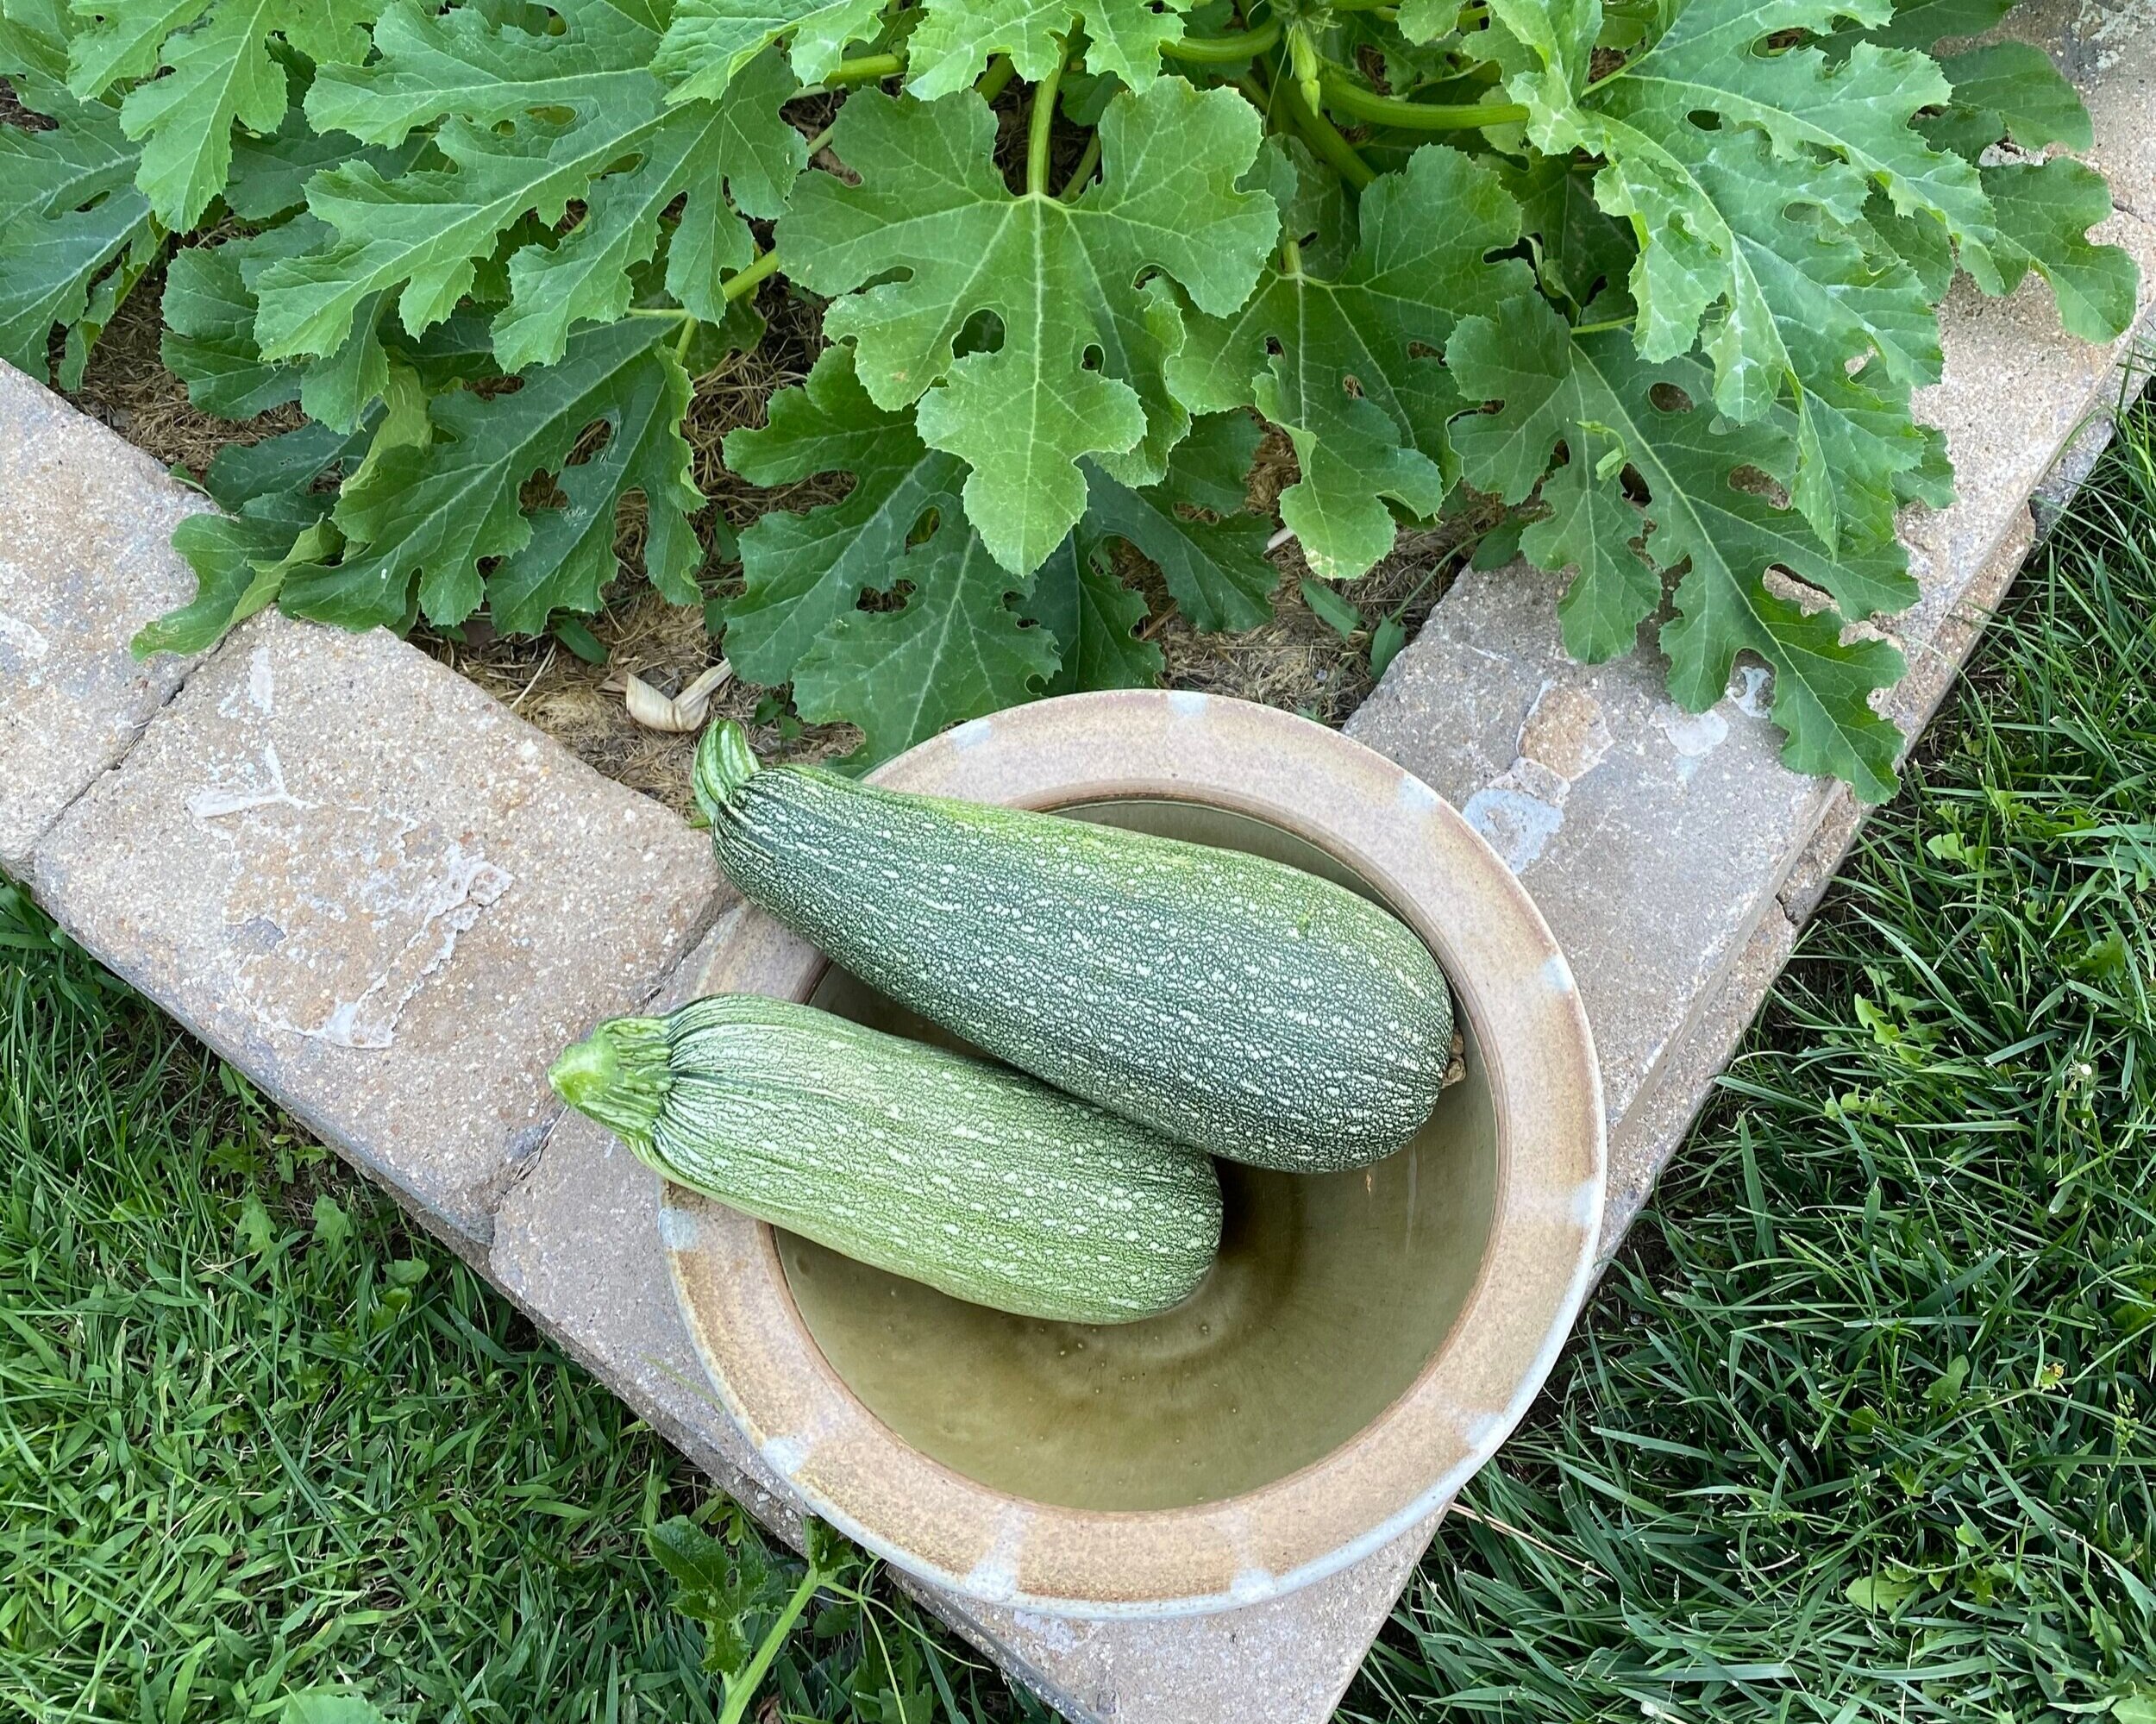
Sometimes, creating and teaching ceramics can be tiring. Don’t get me wrong, I’m not complaining! Being creative all day and connecting with others is incredible, but all the decision-making can leave one mentally drained. Not to mention that wedging clay, making pots, and loading kilns is physically demanding. Another creative task, cooking dinner, sometimes feels monumental after a tiring day in the studio. I often need a spark to get in the mood for cooking after long, busy studio days. My go-to spark is the smell of fresh garlic sauteed in olive oil. That aromatic goodness revives me enough to start cooking. Half the time I don’t know what I am going to cook, but if I can get motivated enough to chop some garlic and sizzle it in olive oil good things will happen from there.
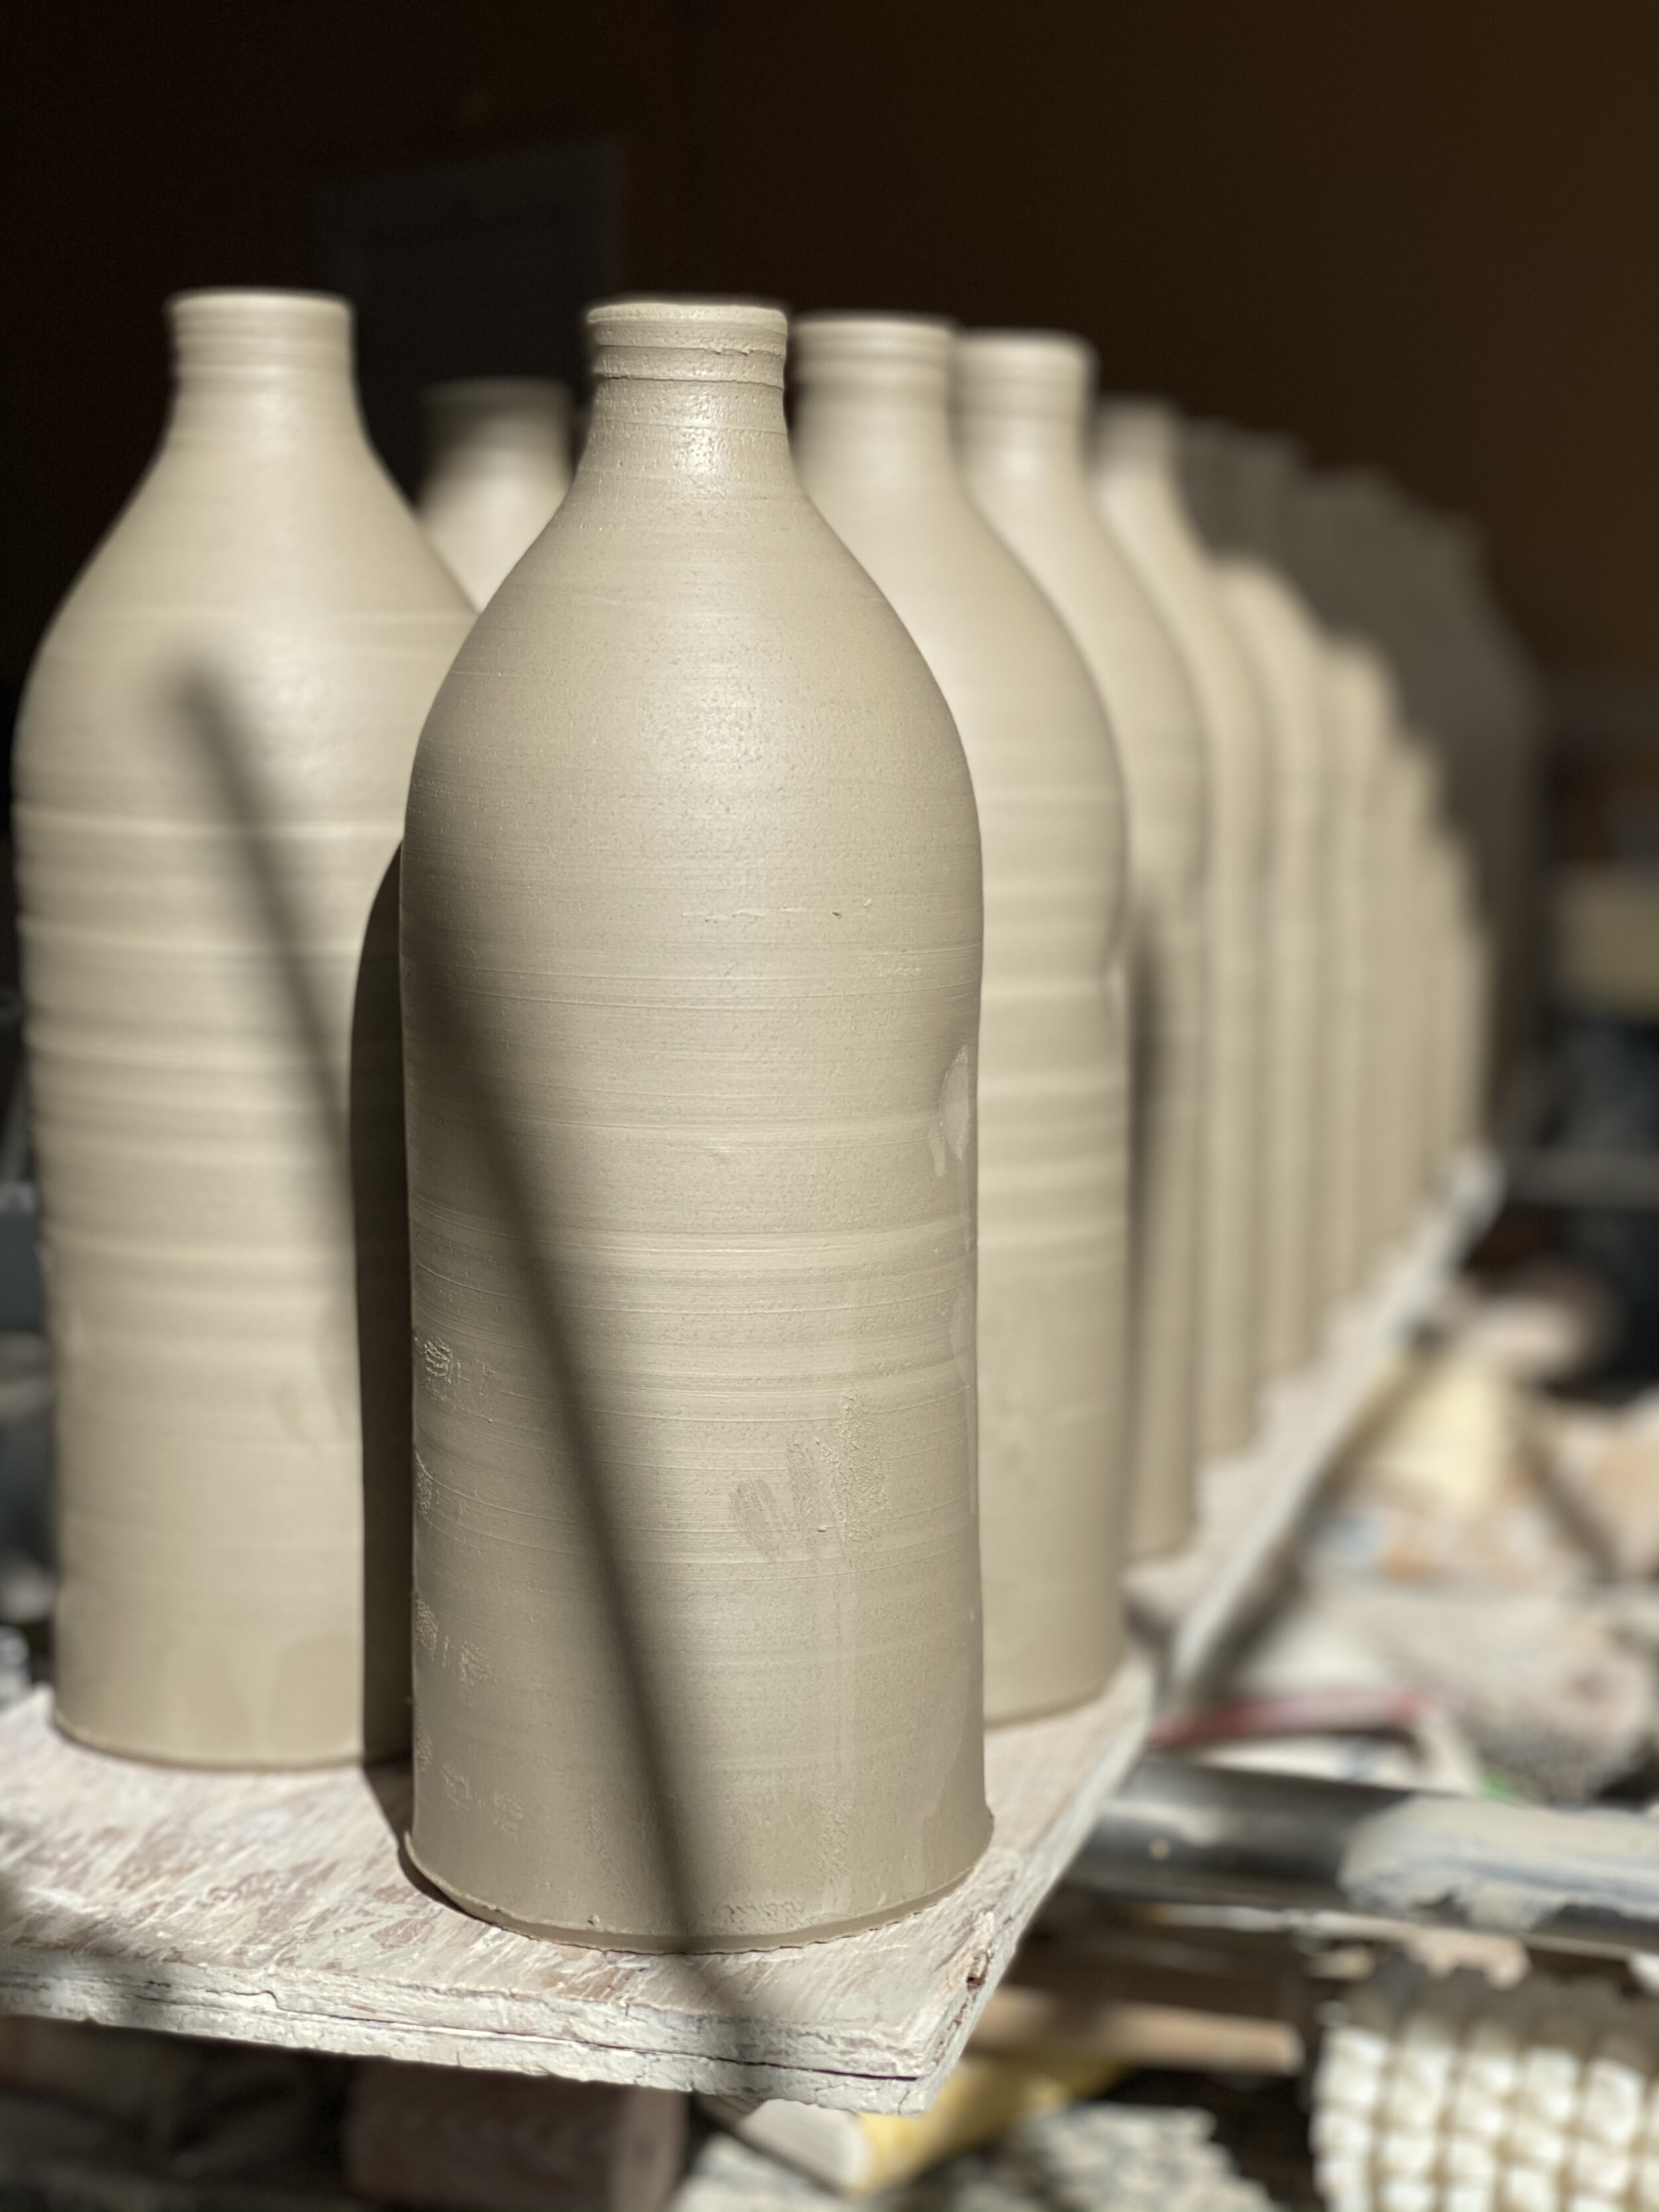
Freshly thrown oil bottles drying on ware boards.
My favorite part of beginning to cook is when I take our stoneware oil bottle and drizzle golden oil into the warm cast iron skillet. The bottle is one that Kent made, and the glaze is matte yellow with iron speckles. Kent has been making many oil bottles like ours lately, so I thought I would write a short blog highlighting the top reasons why I think the bottles make great gifts.
TOP FIVE REASONS
BLUE SAGE OIL BOTTLES MAKE GREAT GIFTS:
It prevents oil from rancid by blocking light, oxygen, and heat.
Metal tops let the oil drizzle slowly, making you feel like a chef!
Ceramic pottery is safer for food storage than plastic because plastic can contain chemicals that leach into food.
Potter’s thumbprint on the pot's side makes it easy to grab when cooking and reminds you that a human being made it!
You can have beautiful, functional art on the kitchen countertop.

Fired oil bottles in the kiln about to be unloaded.

Glazed and fired oil bottles are on display in the gallery at Blue Sage Pottery.
My favorite thing about our wheel-thrown oil bottles is that you can have original art on your countertop. The bottles are made with stoneware clay and finished with glazes we create from scratch. Each is thrown on the potter’s wheel and dipped individually in the glazes. That results in each bottle being totally unique! Kent and I believe that you should surround yourself with things you know to be beautiful, and that is one reason we are motivated to make and sell functional art for the home. If you are looking for a special gift for someone who appreciates artisan items and likes to cook, the oil bottle makes a great present. You could also purchase two, one for oil and one for vinegar, if you want to give a matching set. We have several oil bottles in our gallery, but you can purchase them online on our Kitchenware Page. Feel free to message us about the availability of other glaze colors. We would love to help you find the perfect gift!